Reclaimed White Oak Coffee Table - DIY
RECLAIMED WHITE OAK
COFFEE TABLE
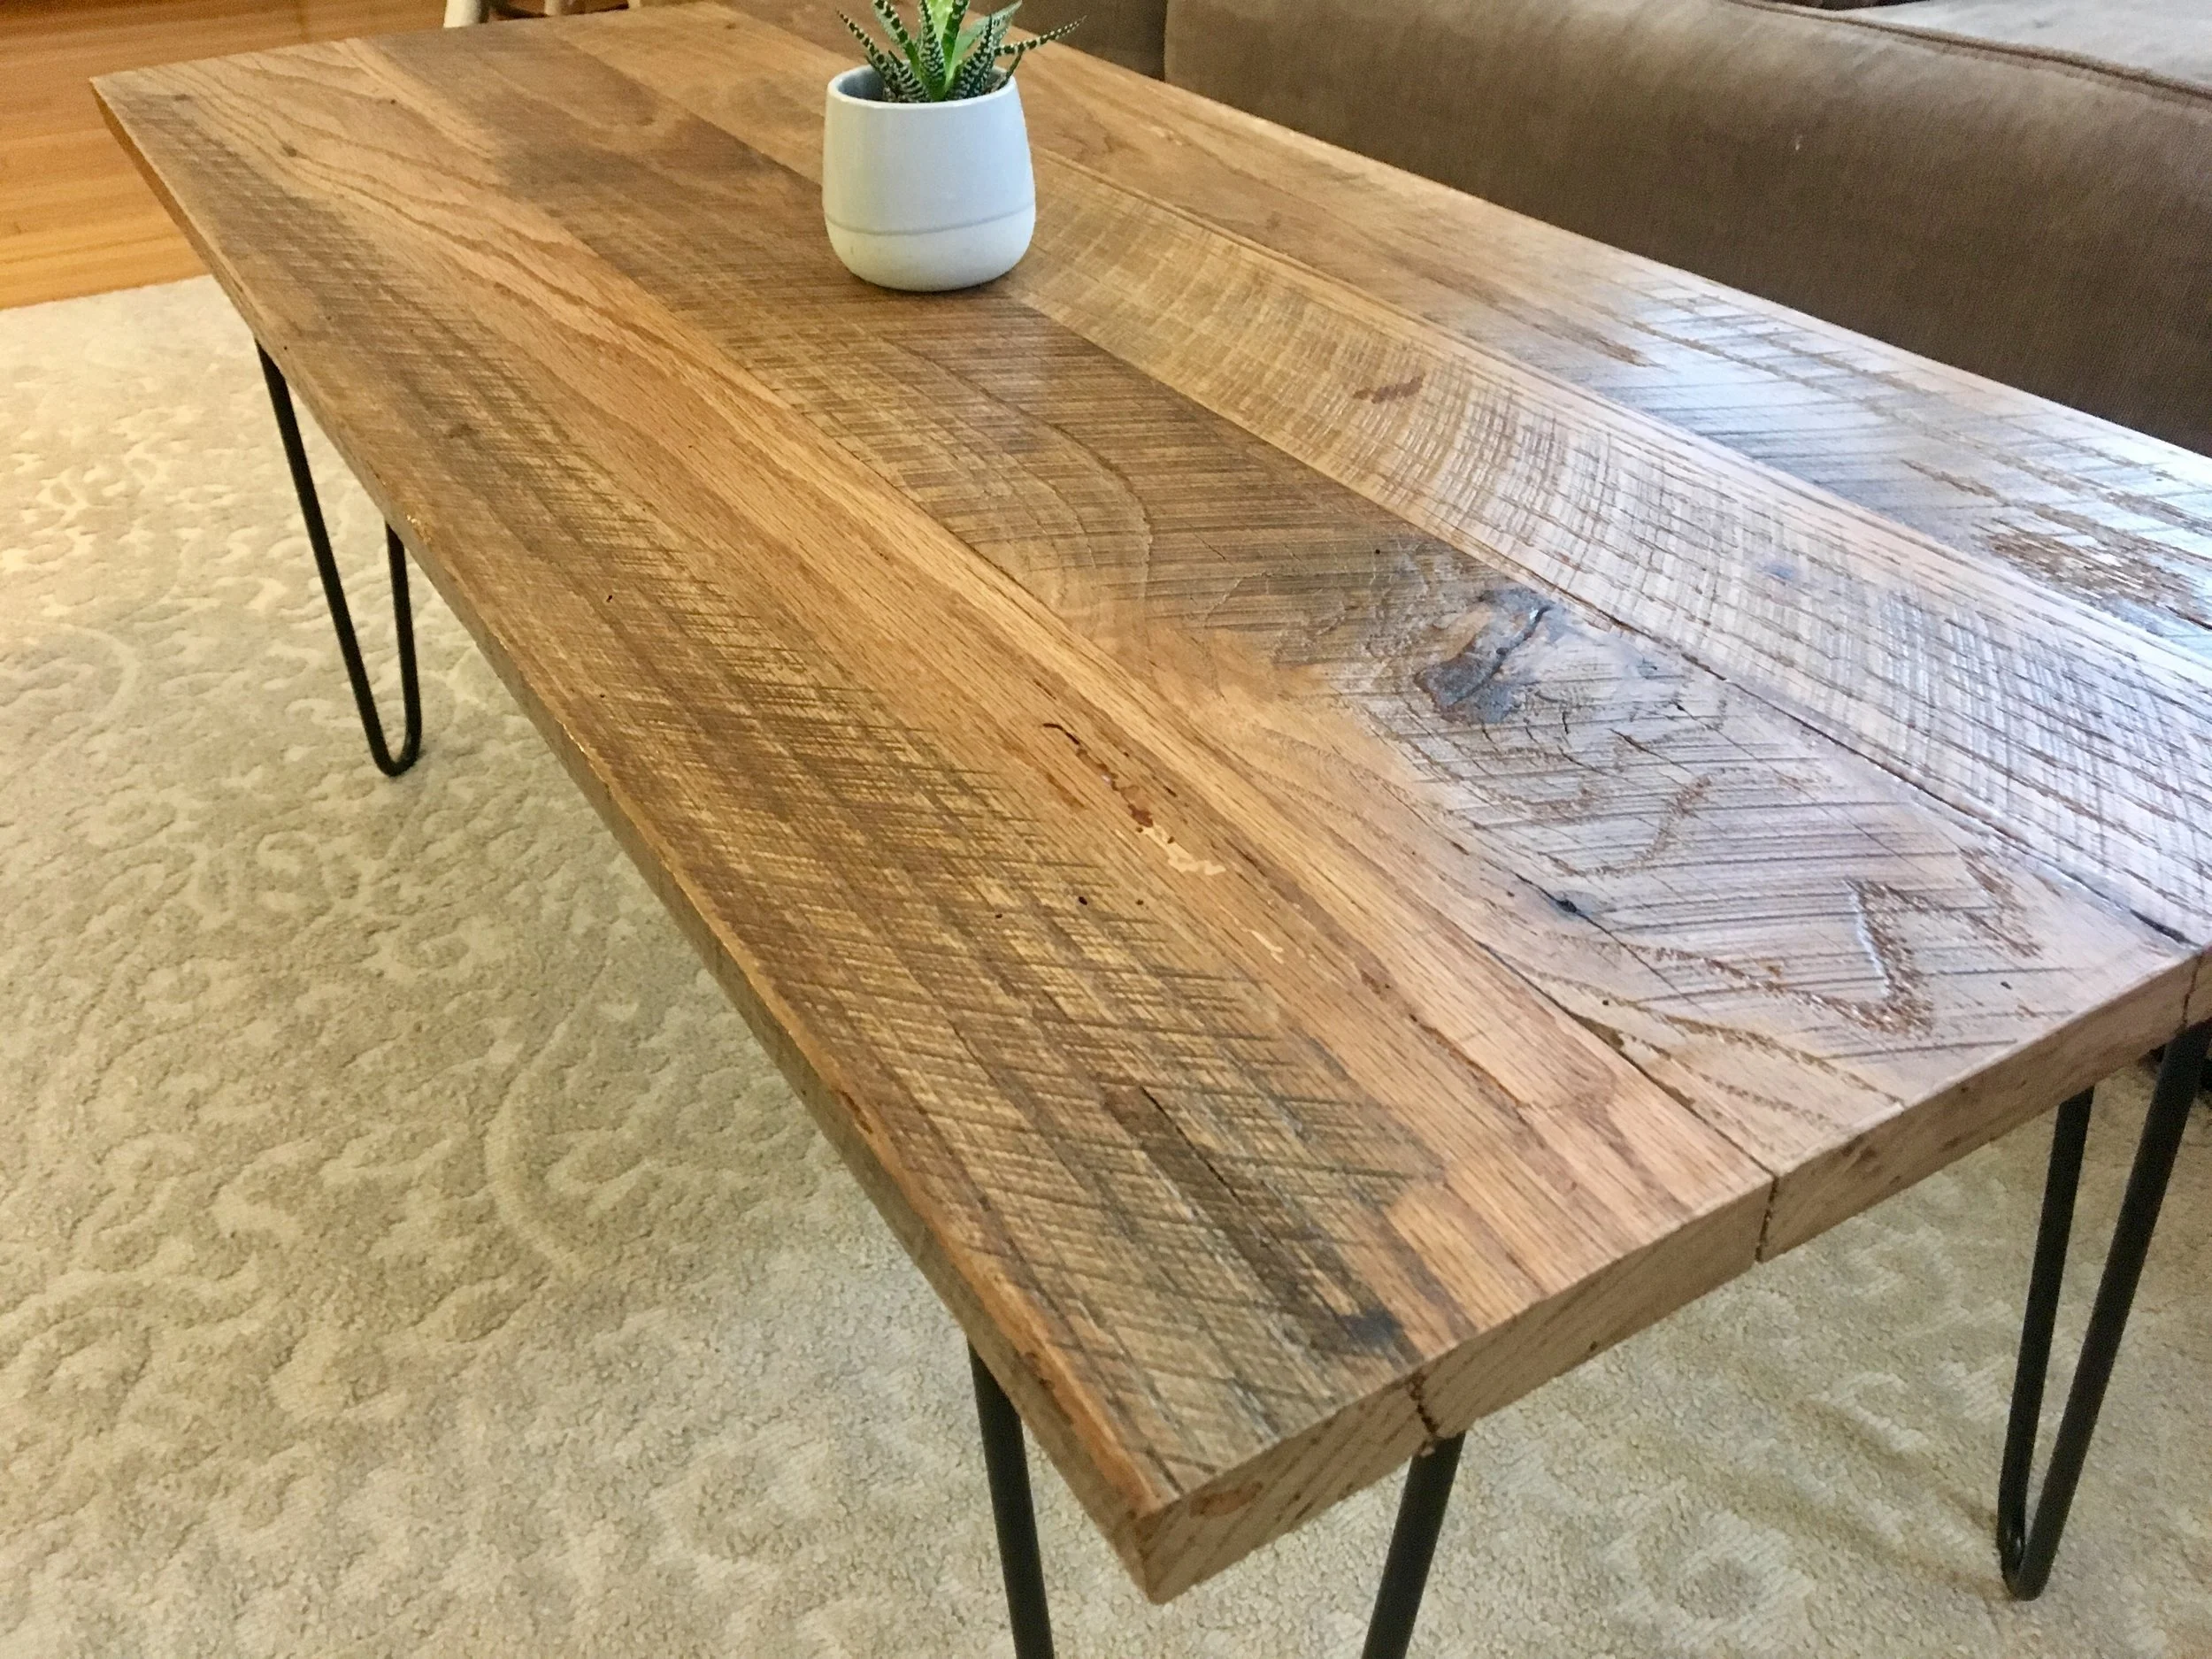
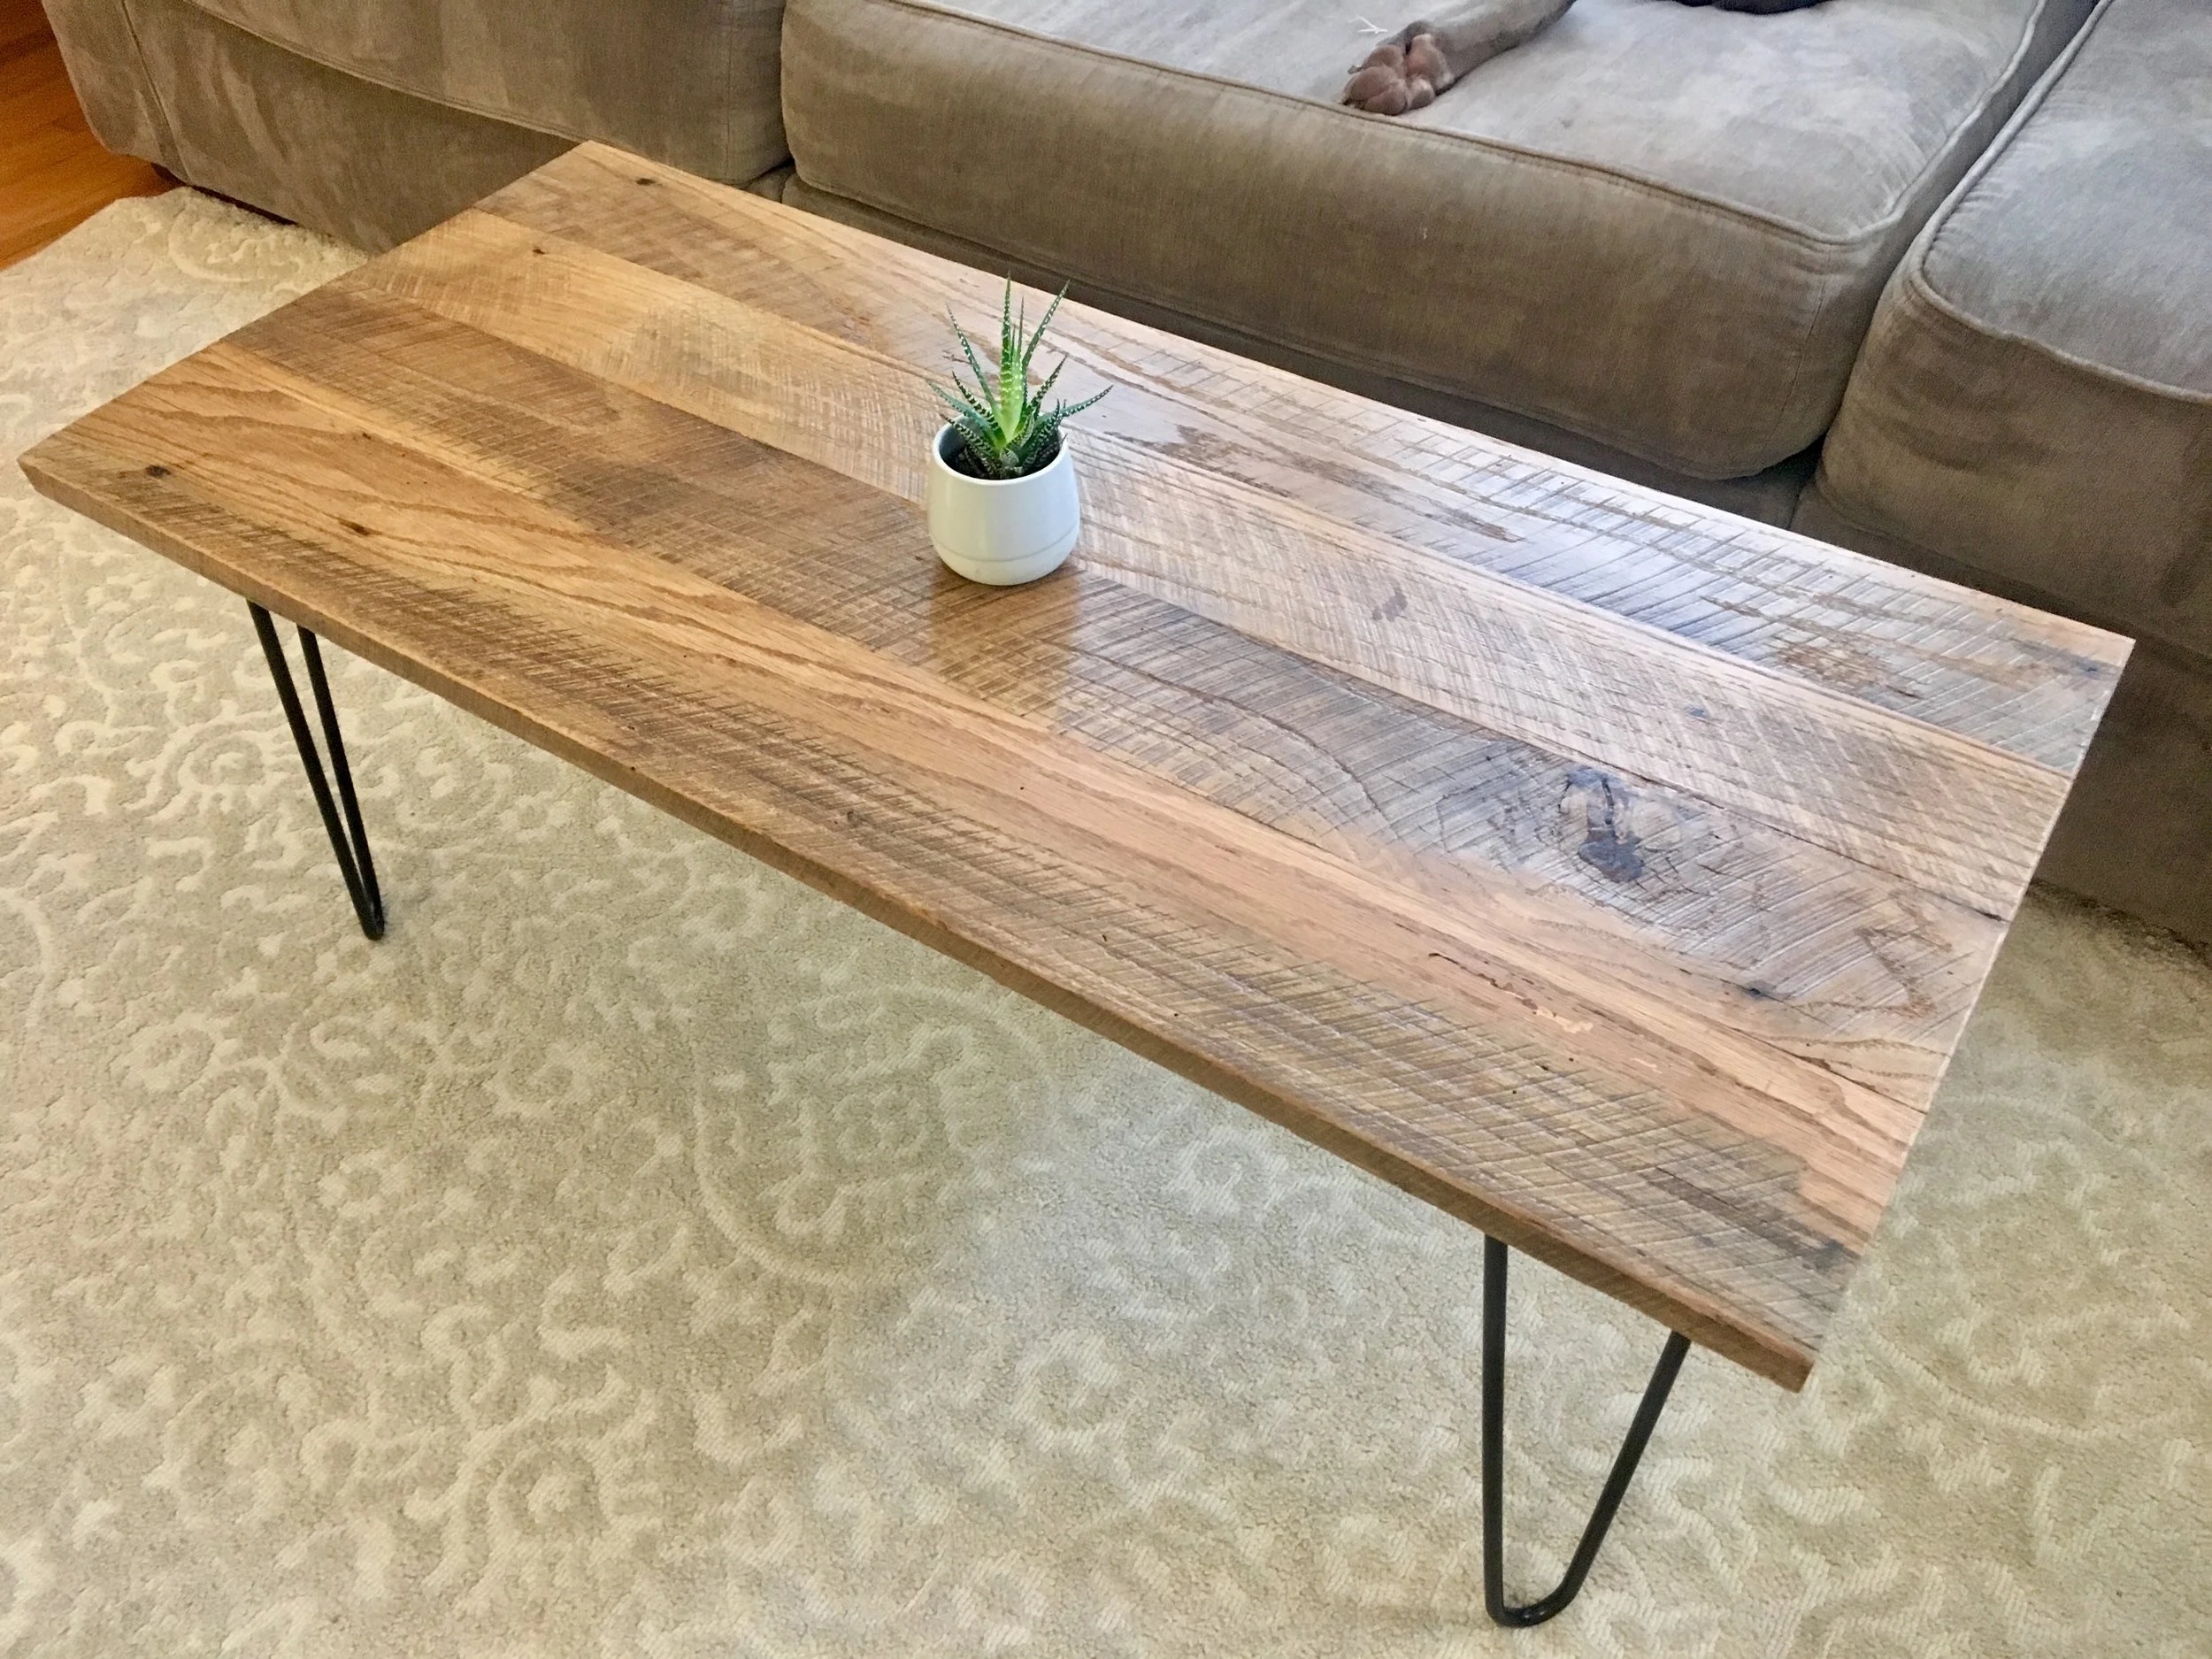
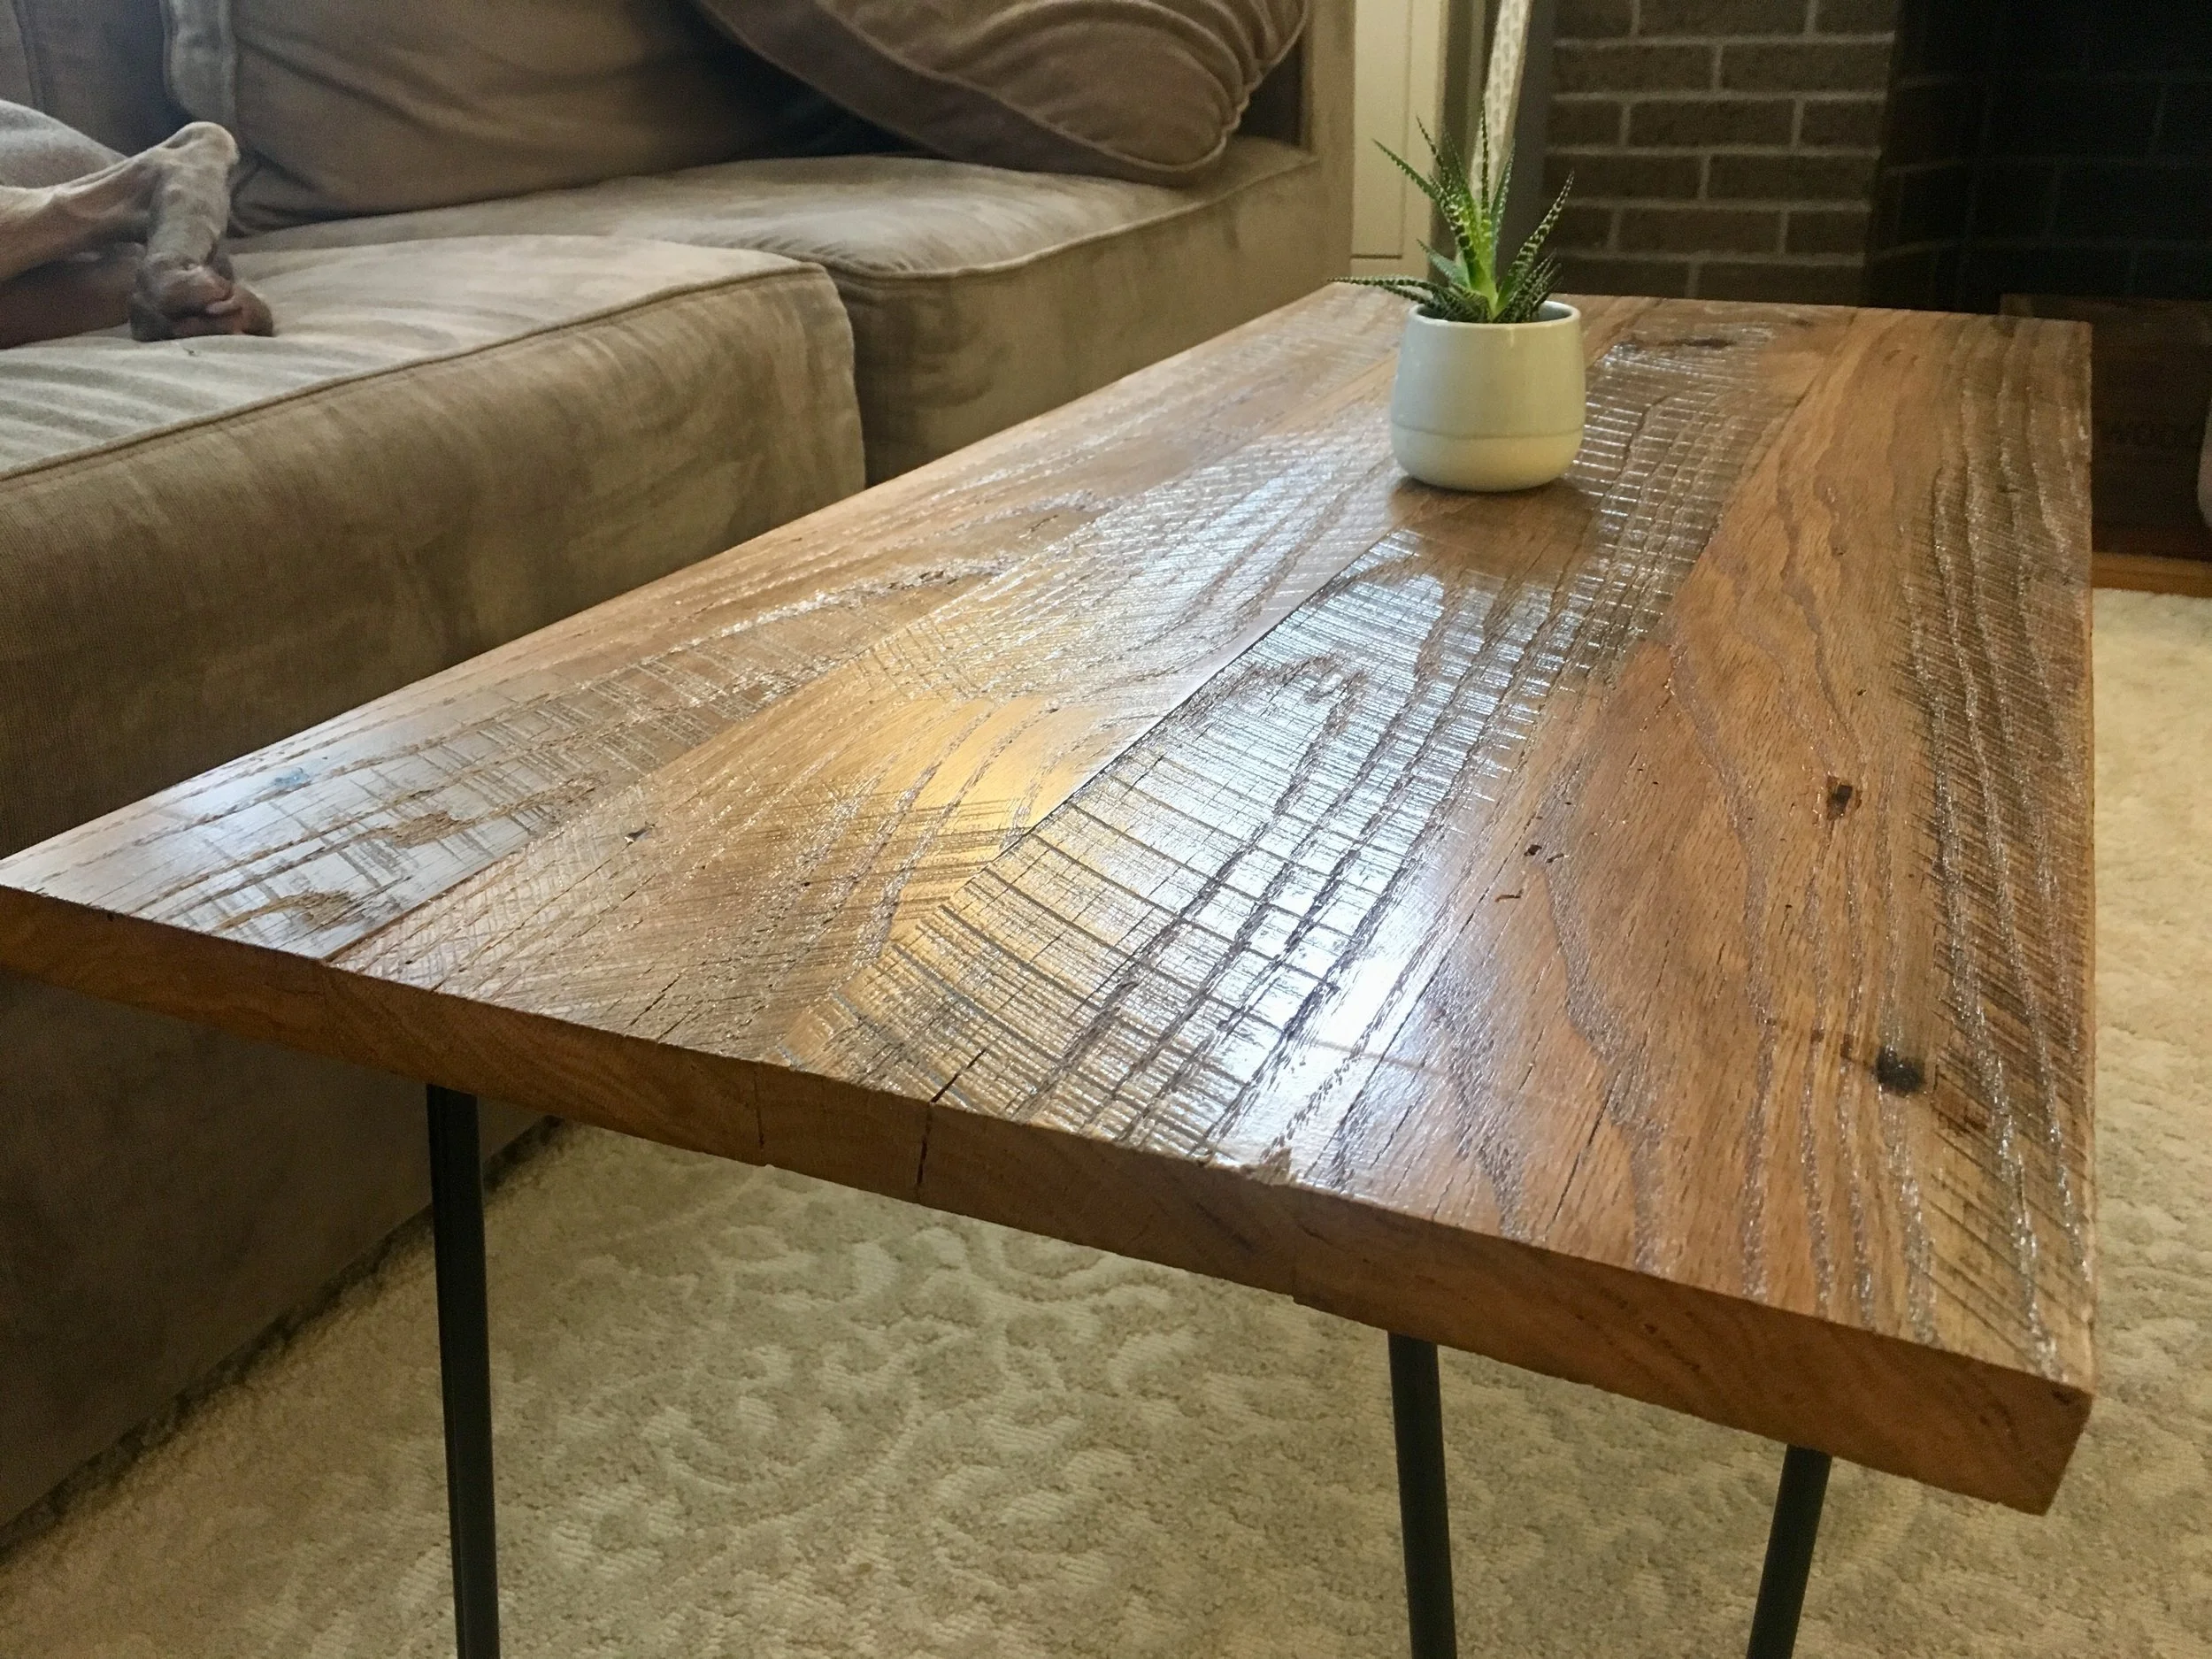
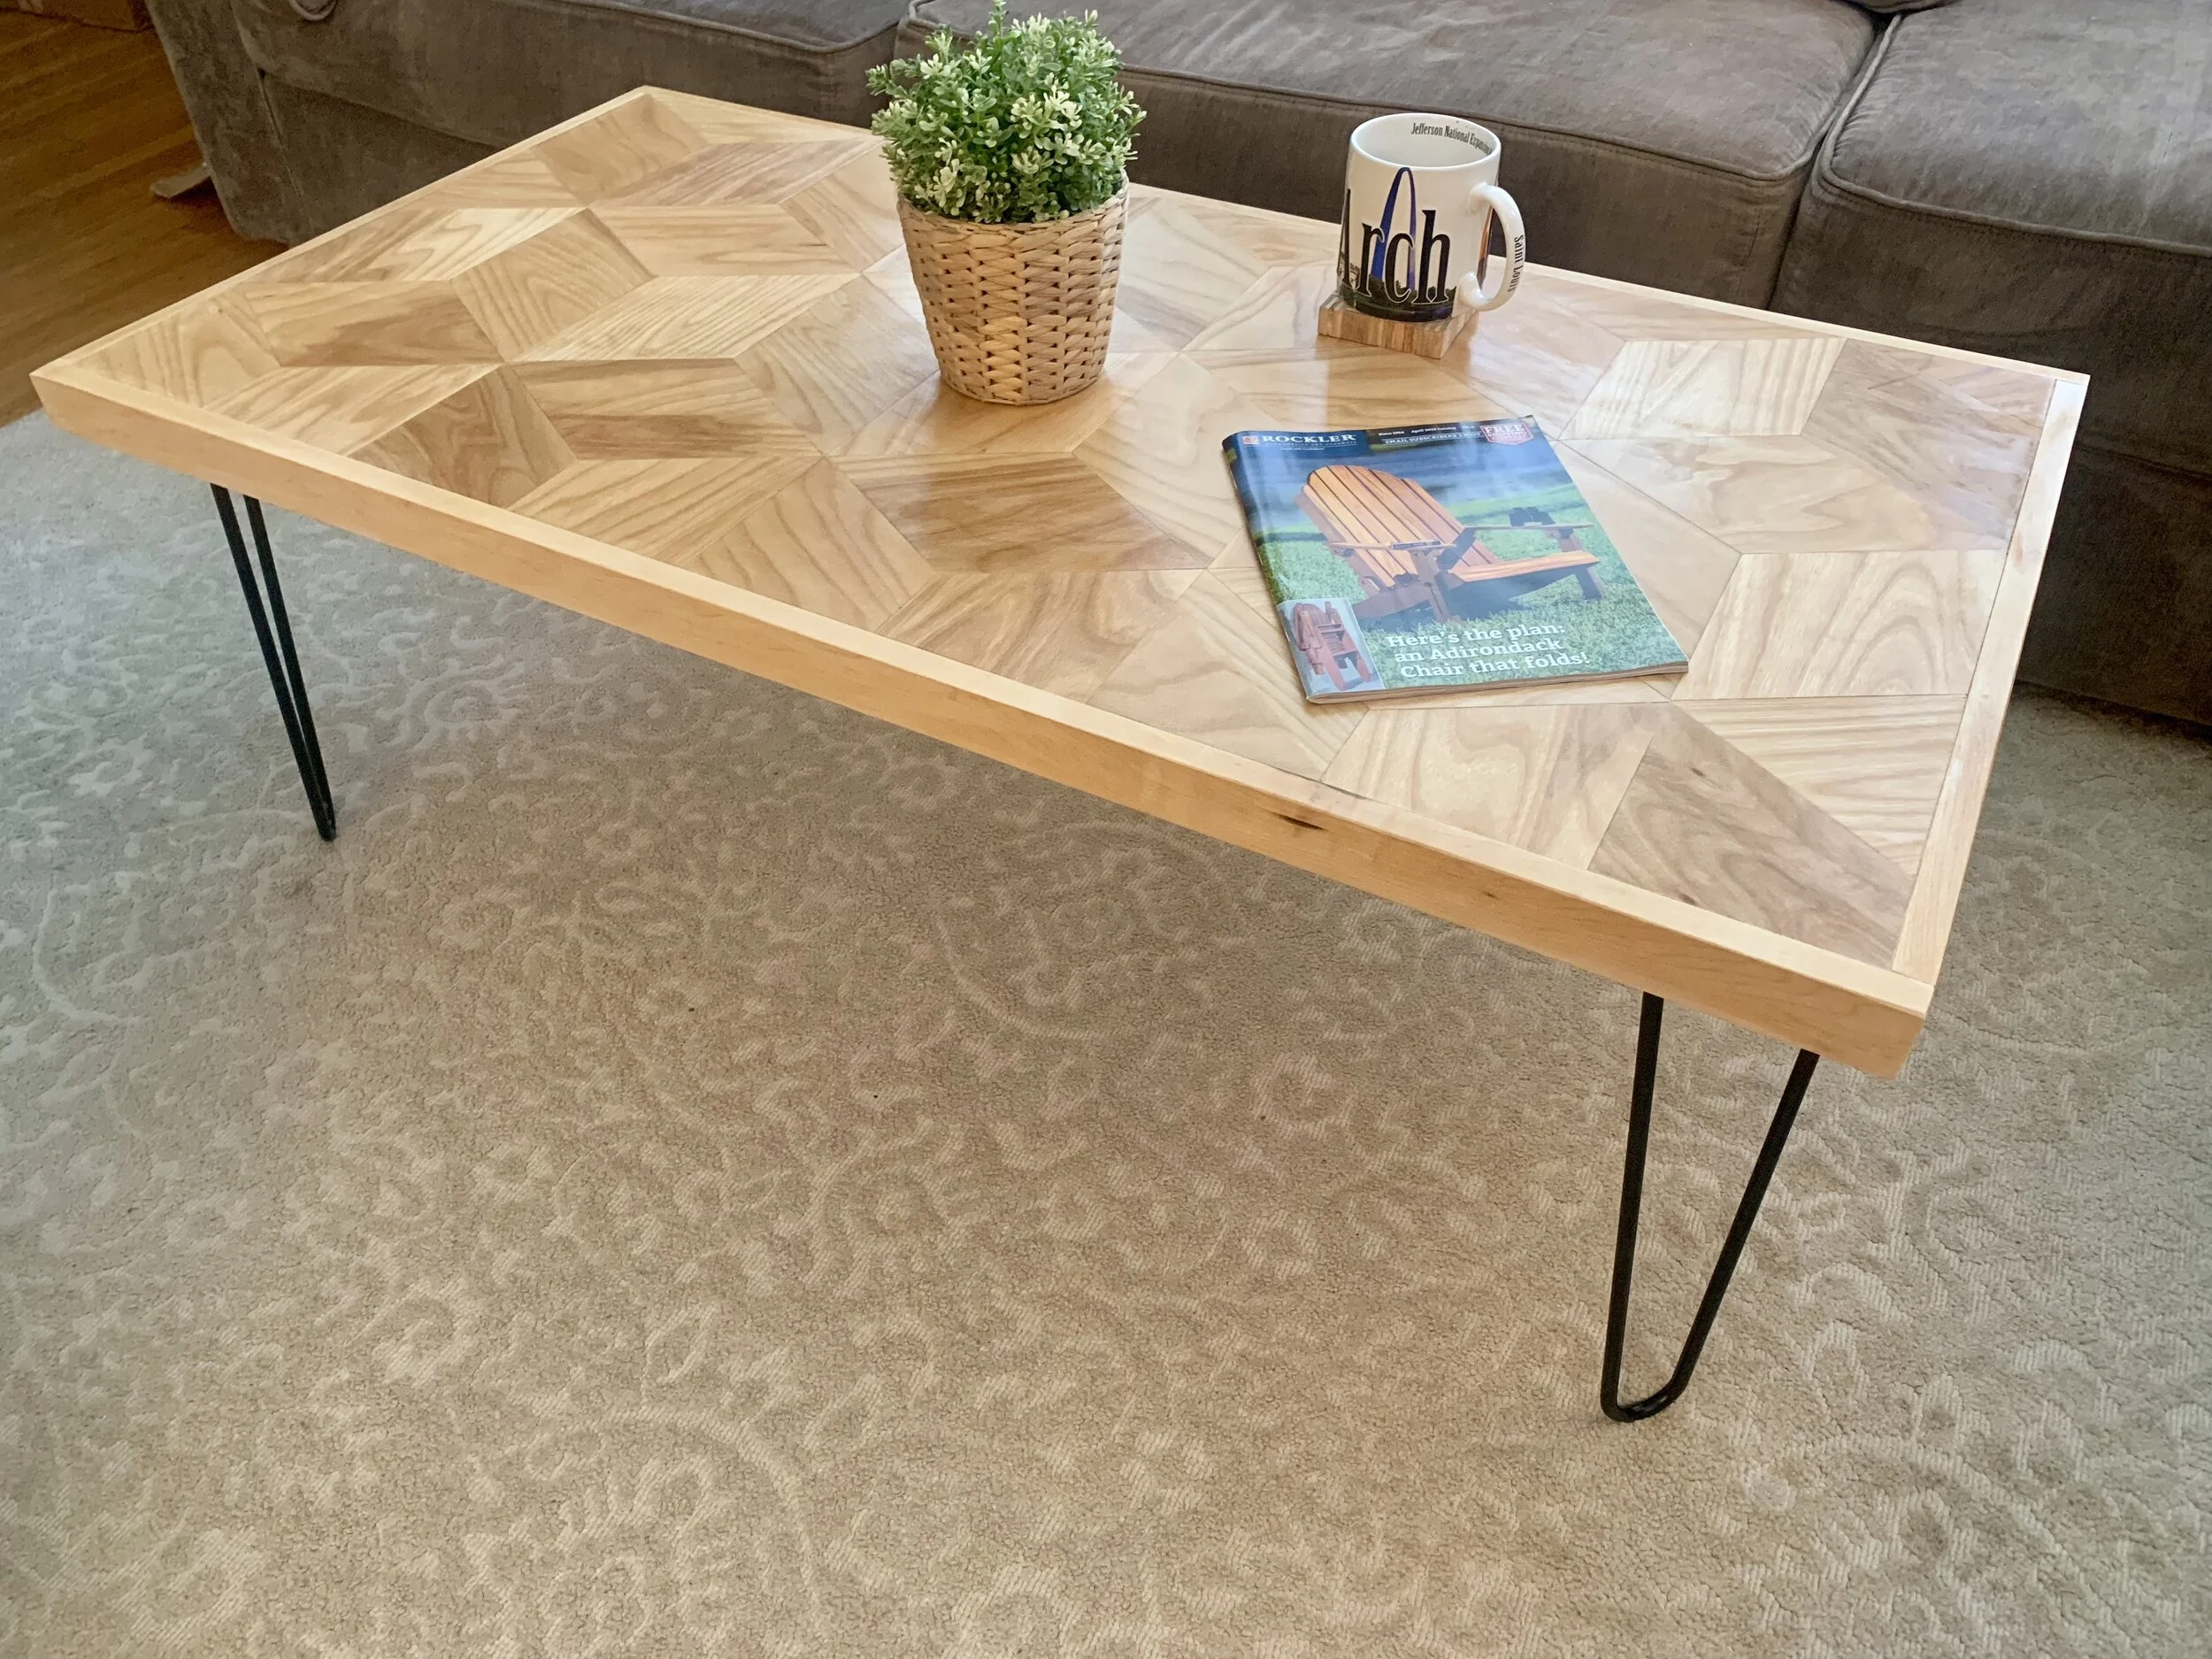
I've always wanted to do something with reclaimed lumber and I finally found the time to stop by a place nearby and pick up some what I think is white oak. I figured the easiest thing to do was order some hairpin legs and make a coffee table. This seems like an easy project but it does have some challenges…You need to remove decades of dirt and dust as well as sealing the cracks with epoxy so they don’t split any further.
Tools:
Table Saw (if desired, or just by 4 inch wide boards)
Angle Grinder with Wire Brush Attachment
or if you have $$$ buy a Wheel Sander
Sanding Discs
Clamps - wide enough for the table
I prefer Pipe Clamps since you can change the size by buying a larger pipe.
Materials:
Reclaimed Lumber (I bought 2- four feet long 1x12s and ripped them down)
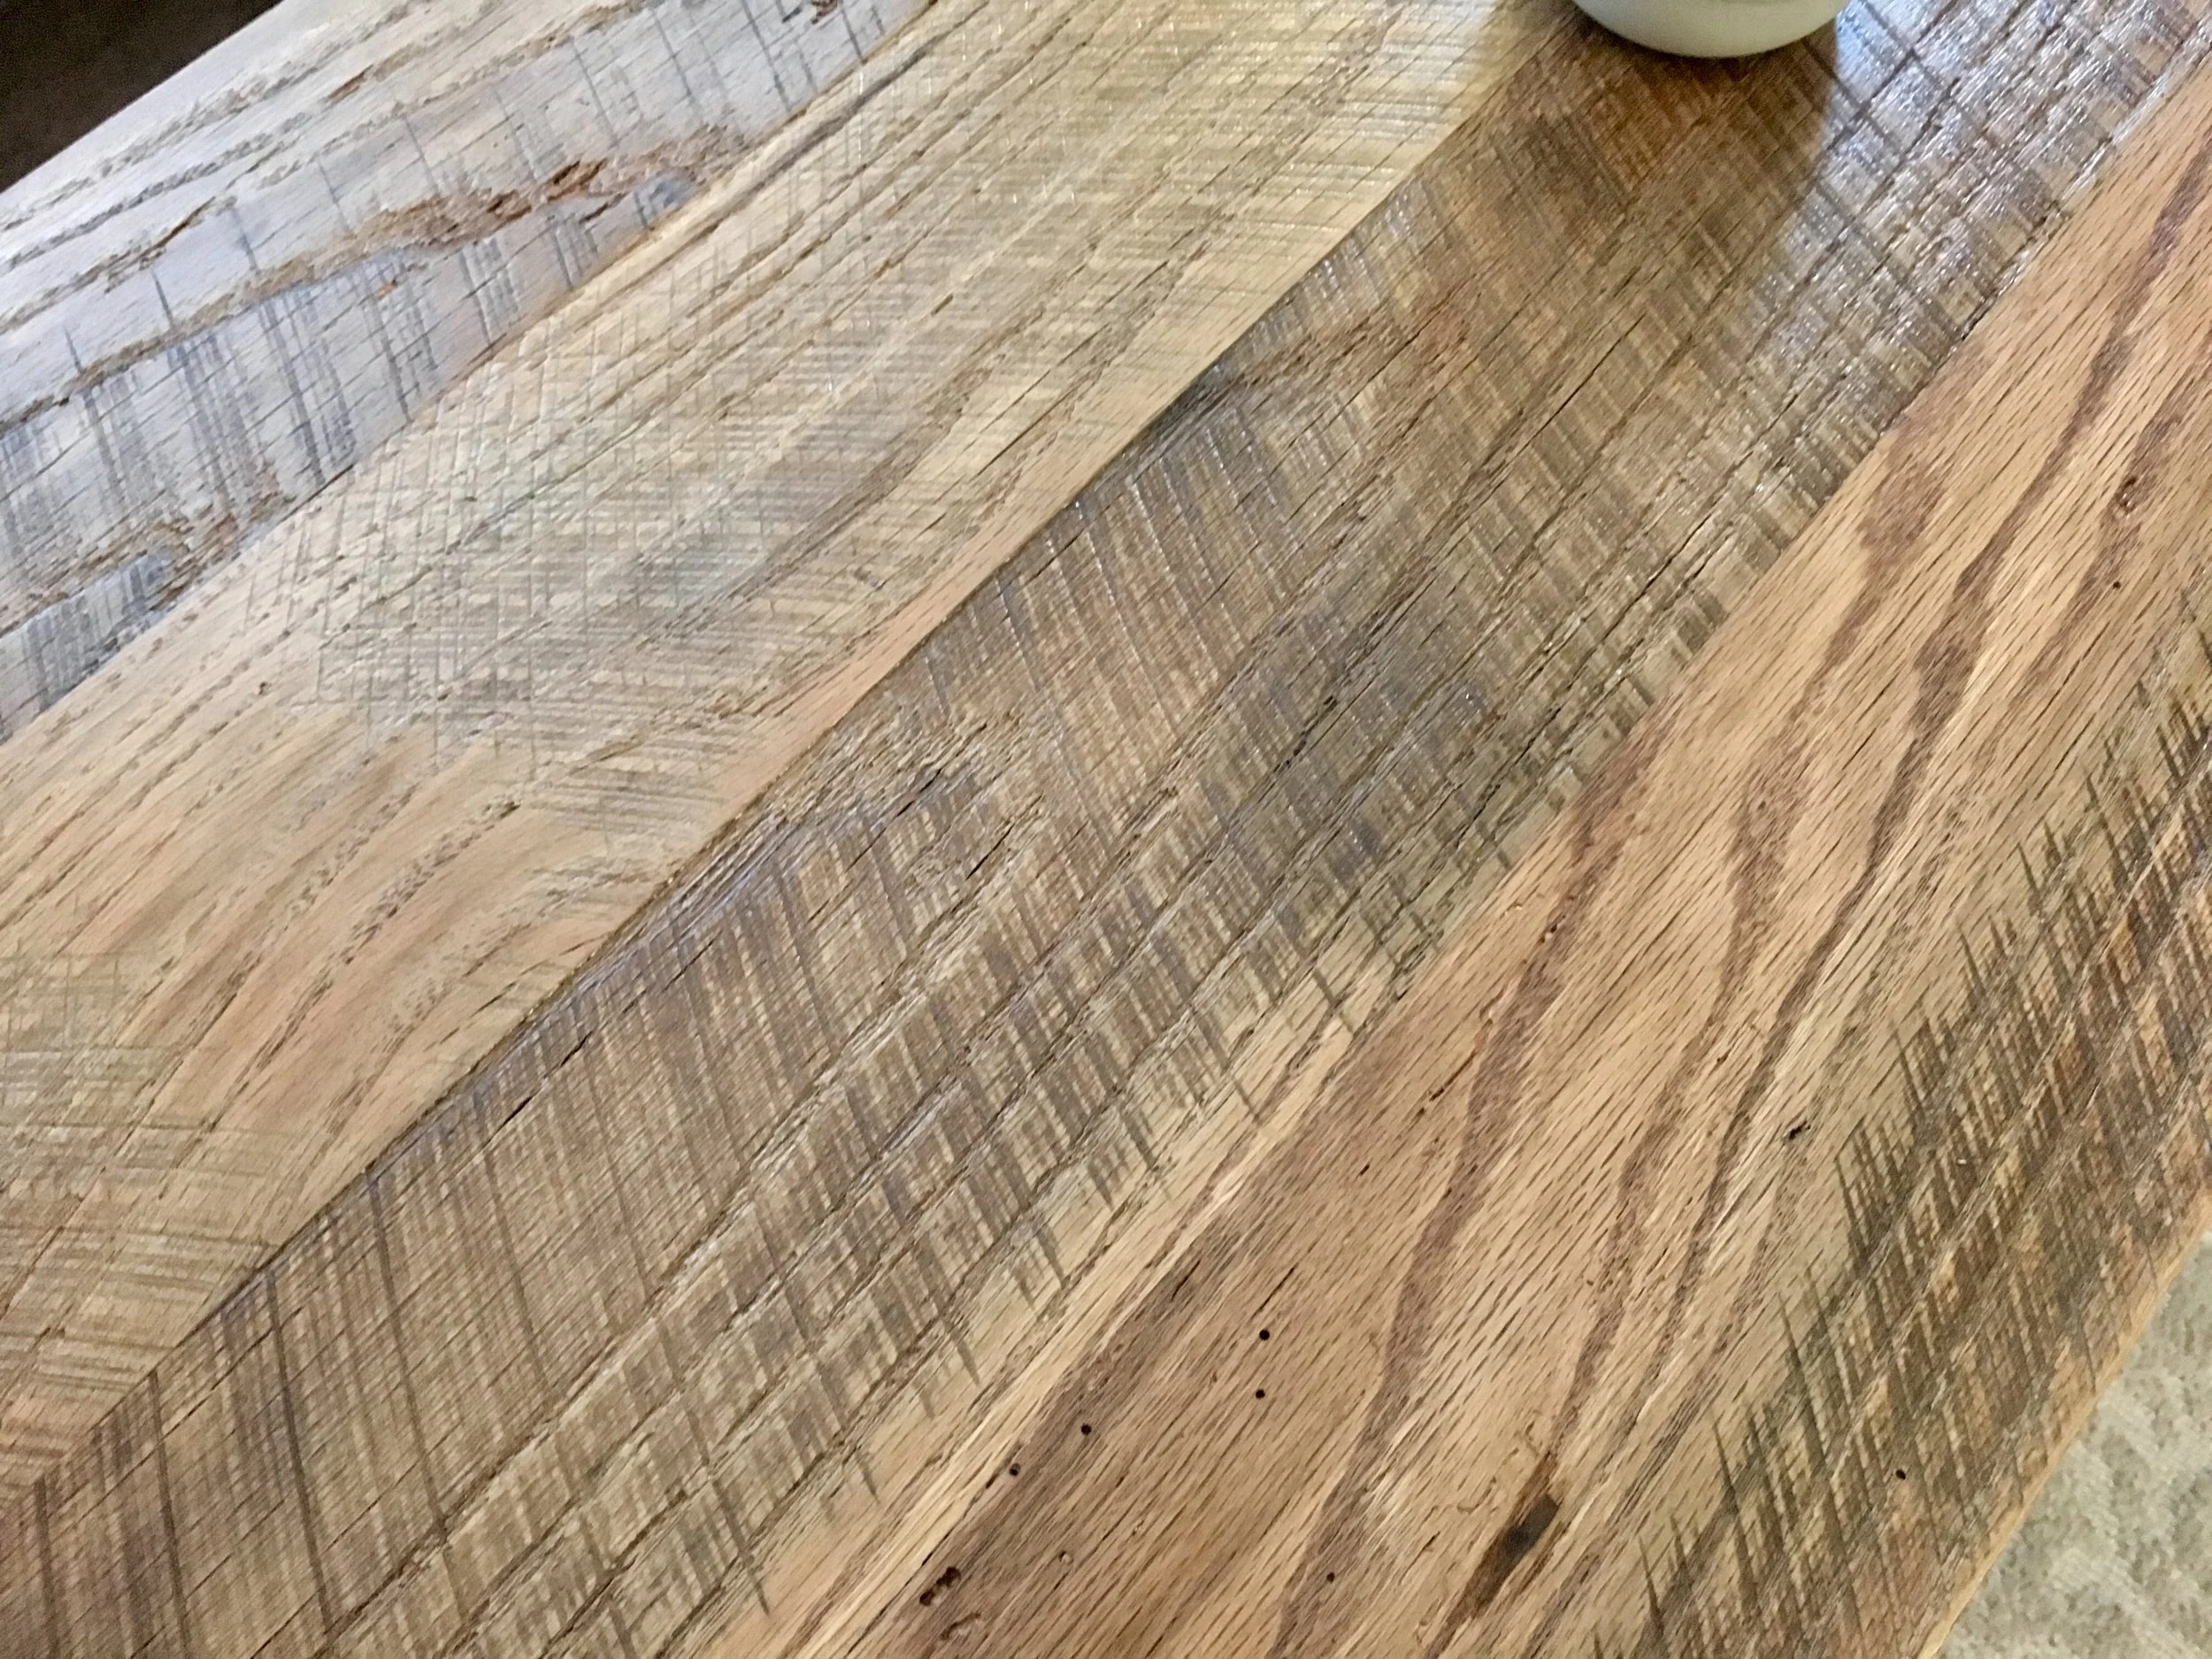
I started over on the miter saw and cut all the boards down to the same length. Next, I ripped them down on the table saw to about 5 inch wides pieces...only to glue them right back together. I thought the table would look better with thinner strips rather than 12 inch wide sections.
I did the glue up in two parts so I could run each section through my planer to try and get a somewhat flat surface and hopefully still keep all the saw marks. The planer is optional, you can just sand like crazy with 50 or 60 grit instead.
The boards were cleaned up using an angle grinder with a 4 inch wire brush. This is just to remove all the years of dirt and grime from them. If you can afford it, I'd highly reccommend geting a Makita wheel sander with a wire brush. It would make this process a heck of a lot less dusty.
After using the wire brush, I cleaned up the edges with a circular saw.
This next part is optional…I routed out a channel for the mending plate to sit in. This provides a little extra stability for the top and helps to prevent shifting of the wood…who knows if this even happens if you seal your wood properly. I’ve built a lot of furniture and never noticed any seasonal movement. Don’t attach the mending plates just yet…
I sanded the top and bottom of the table with 80 grit then, 120 grit and followed that up with 220 grit. The top shouldn’t be entirely smooth since the saw marks are supposed to be a feature of the table. I didn’t document this process since it’s my first time doing it and I was bound to screw it up….To seal the cracks, on one side with epoxy, I taped up all the cracks and holes with painters tape, flipped it over and poured epoxy in each hole and crack on the opposite side. Once the epoxy cured, I flipped it back over and poured more epoxy in the cracks and holes. To remove the excess epoxy, I used a heat gun to heat up the epoxy a bit and then took a 1 inch chisel and removed the layer of epoxy above the surface. It should feel like cutting through butter.
Then I finished the table top with 3 coats of Minwax Polycrylic, lightly sanding with 220 grit in between each coat.
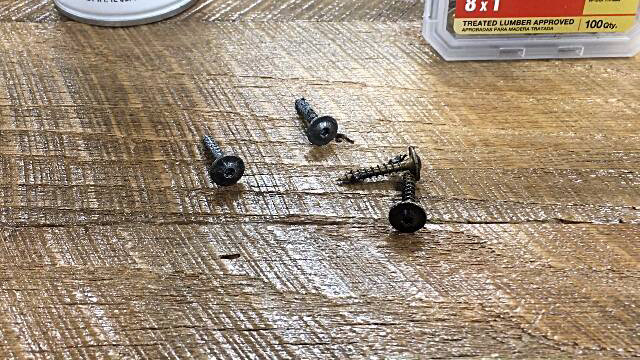
I used some 1 inch long cabinet screws for the mending plates and legs since they have a large pan head that I think looks better with the reclaimed wood. To further acheive a reclaimed look...I sprayed them with 2 coats Rustoleum Matte Hammered spray paint in black
Finally I drilled out all the holes in the mending plates and attached the screws. If you don’t create a recess for the mending plates just screw them on to the bottom. Then marked the holes for the legs, drilled those out and screwed in the legs.
The table looks fantastic. Sadly we don’t have a place for it in my house so my wife wanted me to get rid of it. I ended up selling it for a pretty decent profit and it was the first piece of furniture I’ve ever sold.


