
How To: Restore/Refinish a Cutting Board
There are so many videos out there about how to make elaborate and beautiful cutting boards. Eventually, they become worn and lose their appeal. Some of them are expensive so you probably don’t want to run out and buy a new one…check out my cutting board care tips at the bottom to keep your board in great condition for a long time.
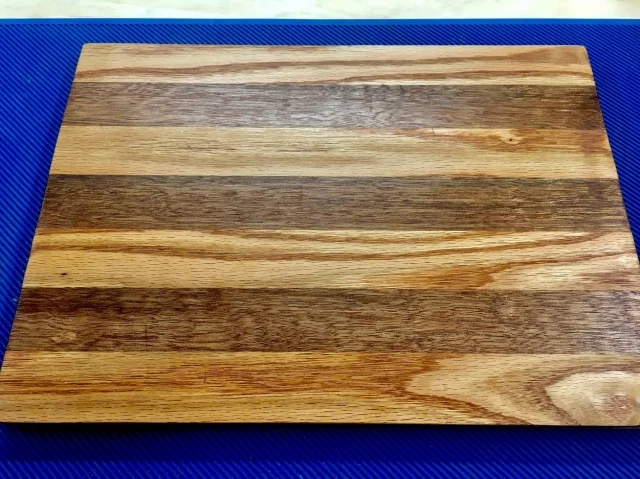
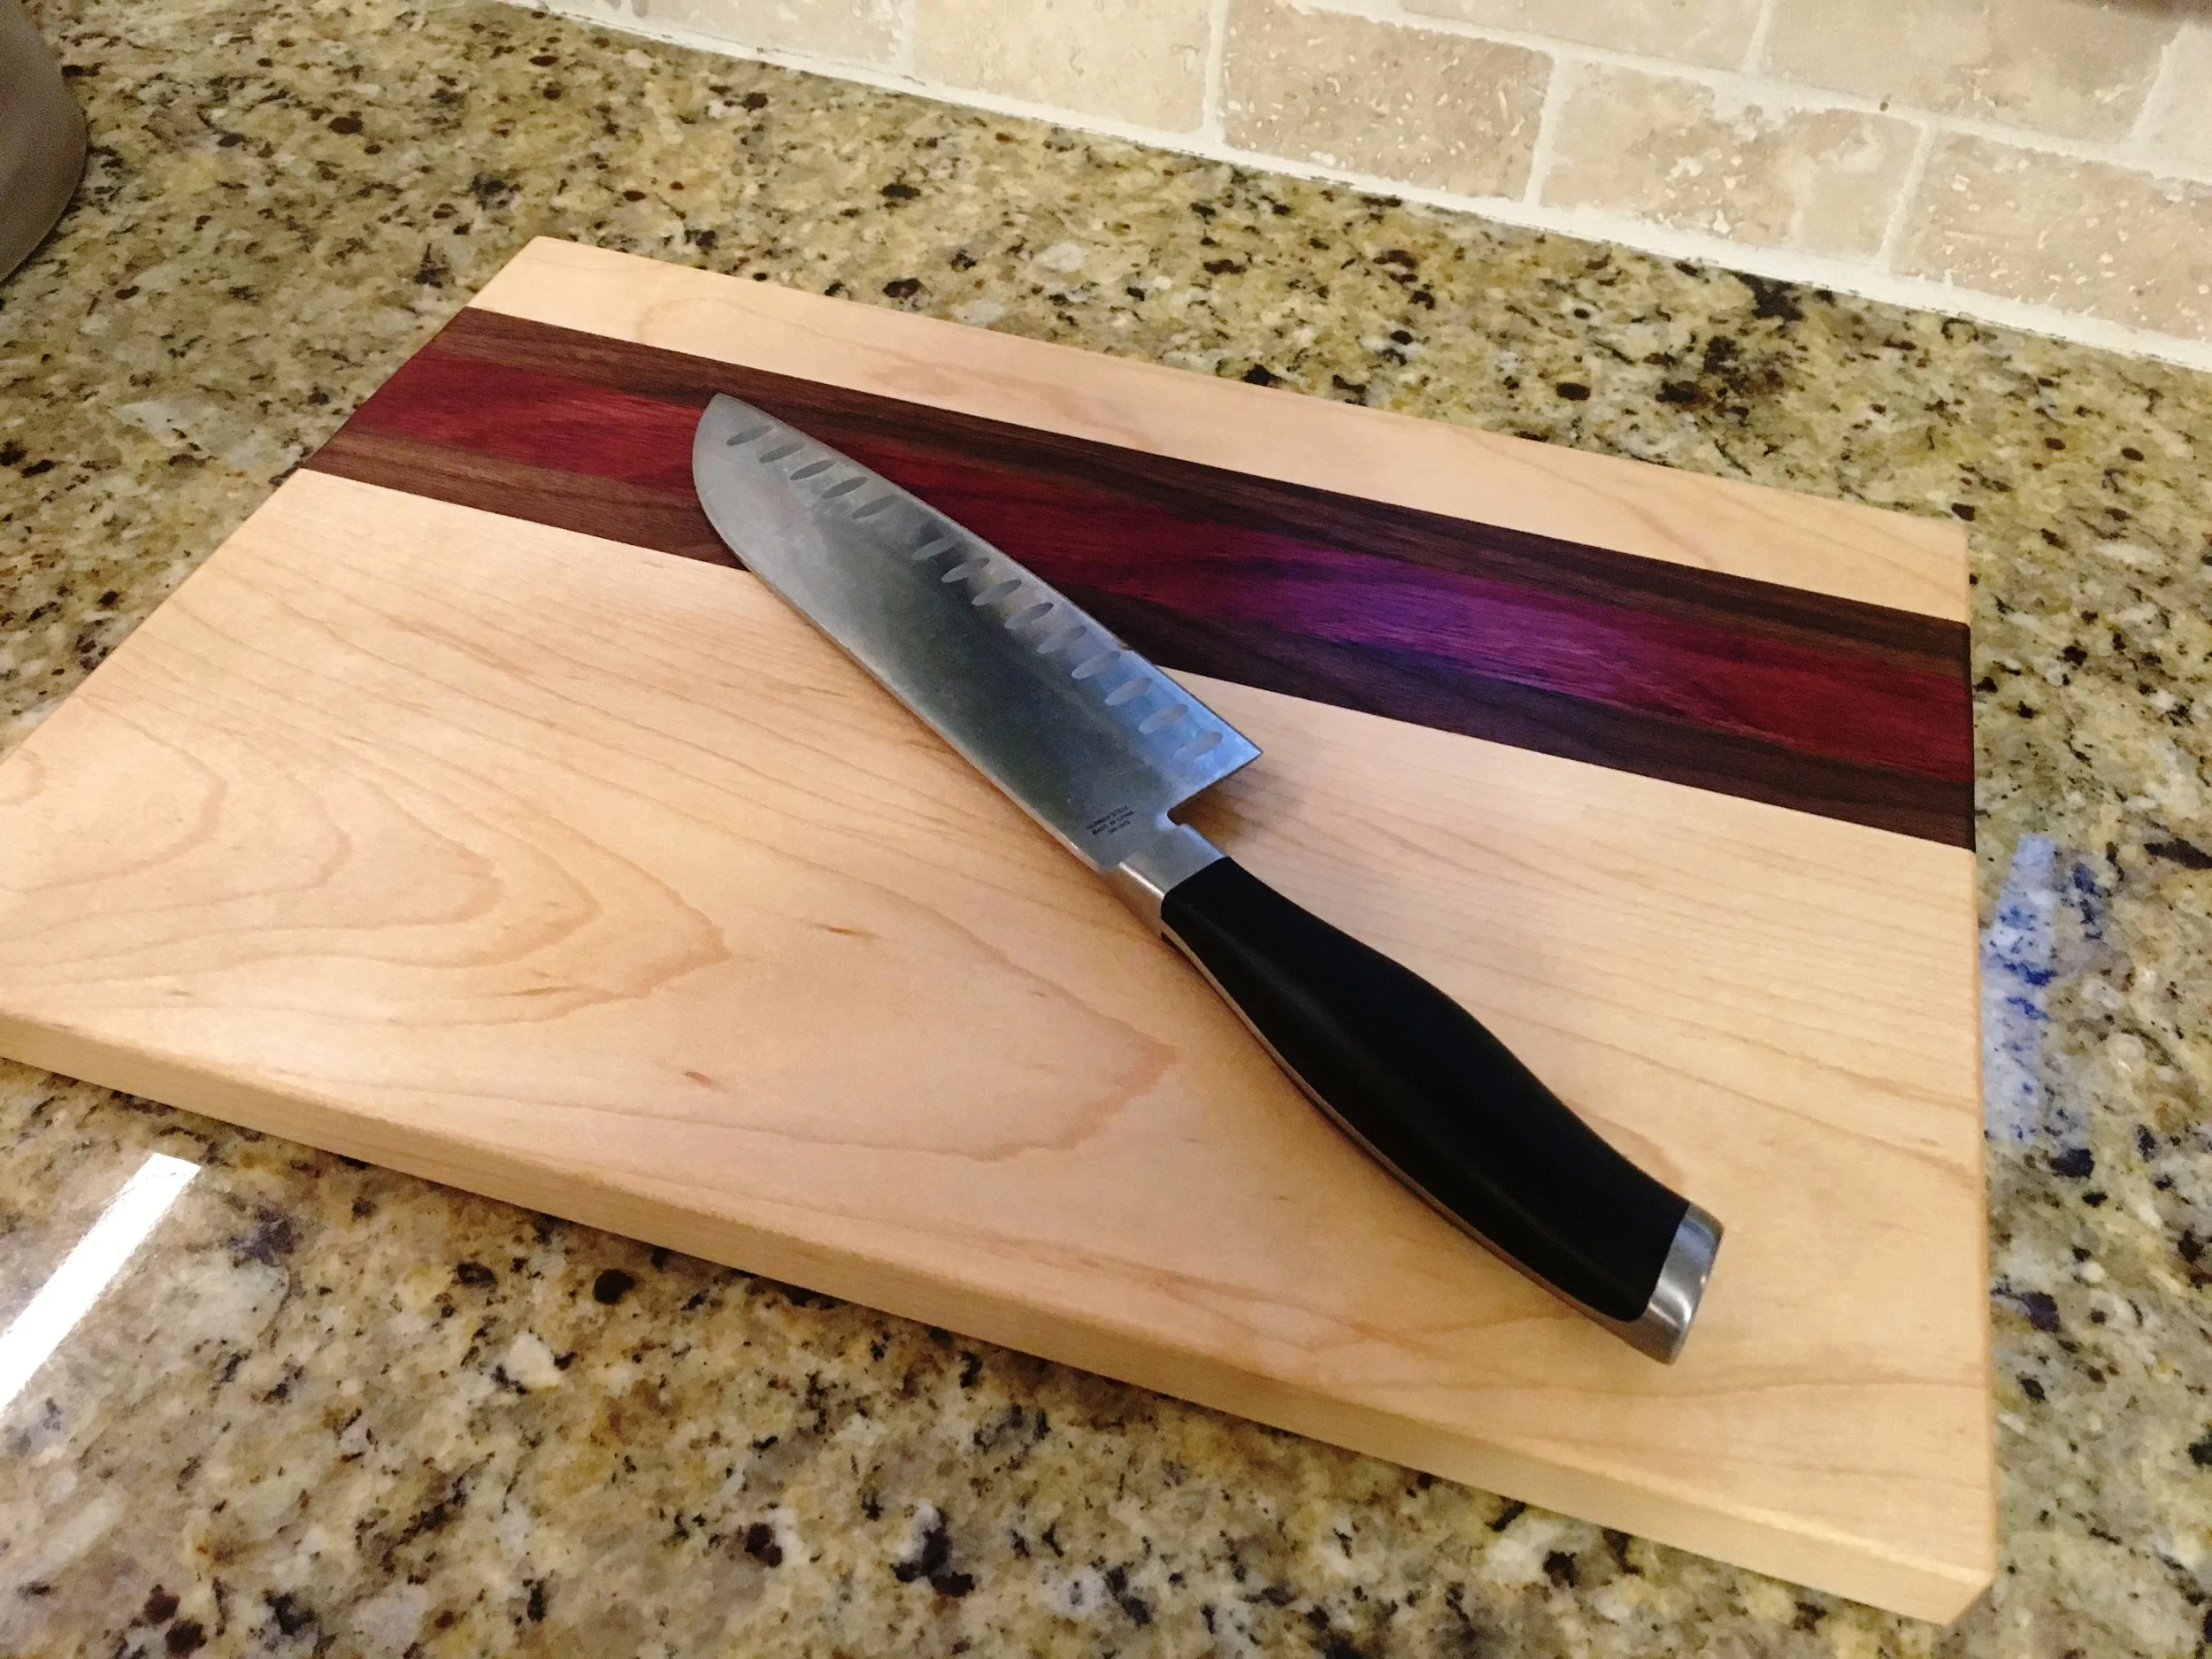
This board still looks good, but it could look so much better.
Don’t worry, there’s hope. You can easily restore/refinish your cutting board any time you want…well, not any time, just when needed.
Two things to note before we get started:
If you bought your cutting board from a local woodworker, there is a good chance he/she we refinish it for you for free. Call and ask.
I’m assuming you don’t own a thickness planer. If you do, and you need to read this post, make a couple light passes on the planer instead of the 80 grit sandpaper.
Tools and Supplies:
Sandpaper: 80 Grit, 120 Grit, 180 Grit, 220 Grit, (400 Grit is optional)
Sanding block (to hold the sandpaper but this is also optional it will just make things a bit easier)
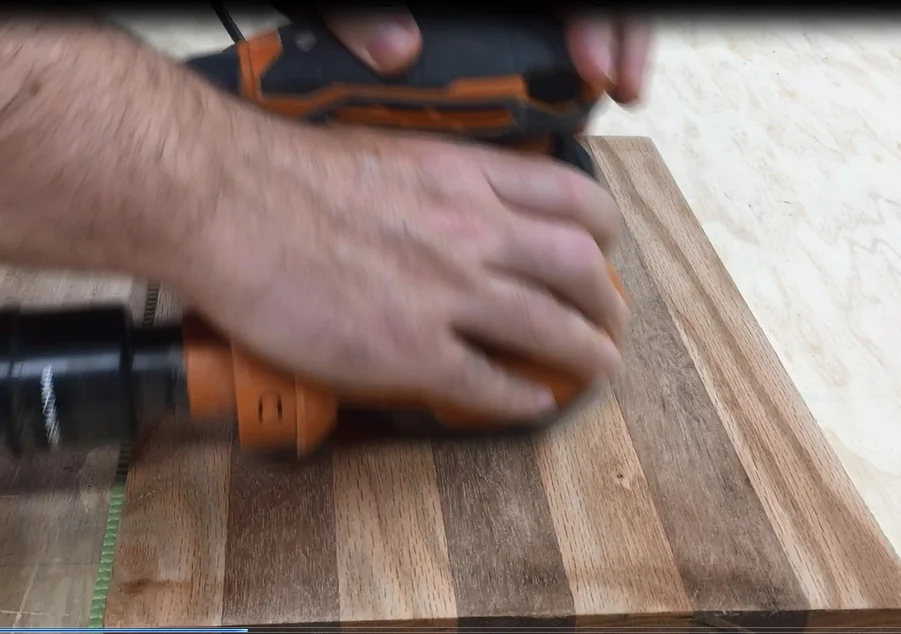
If you have an Orbital Sander or Palm Sander, just use that.
or the ever so popular
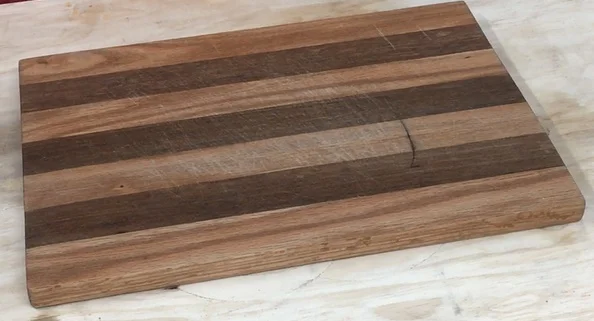
This is the first cutting board I ever made. It’s not in too bad of shape but it’s seen some use and I’m not sure what’s going on with that black mark so, I decided to restore it.


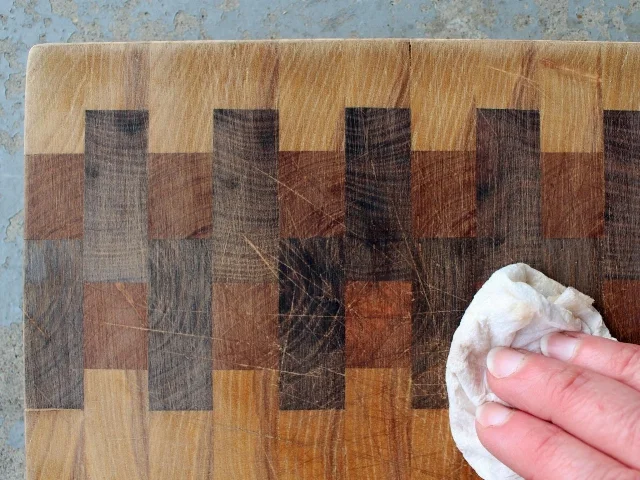
First, give your board a good scrubbing, towel dry and let it air dry completely. You want to remove as much oil or wax as possible that might be on the board. You also want to get rid of any food which might still be on the board. Removing these will keep your sandpaper from becoming gunked up.
Start out with your 80 grit sand paper and sand the board down until you can’t see anymore knife marks.

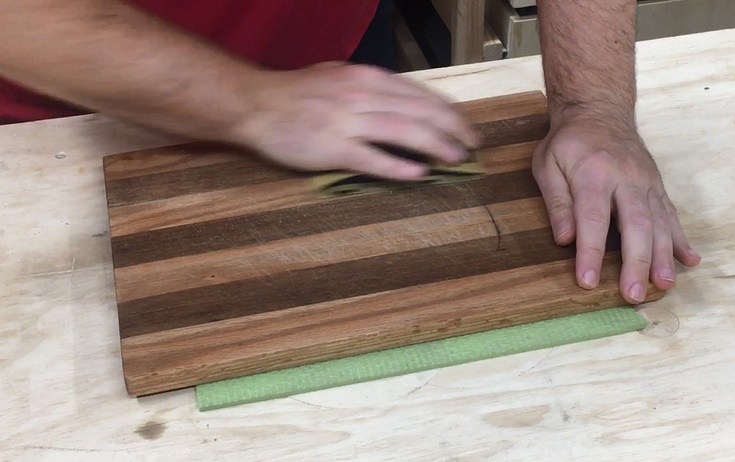

It should look something like the image below. Your board will have an unfinished look to it which is exactly what you want.

Next, sand up through each grit. Start with 120 and sand the entire board, then move to 180 and repeat. Follow that up with 220 and everything should feel nice and smooth.

Next, we’re going to need to raise the grain and sand it back down. Otherwise, the first time your board gets wet the grain will raise on it’s own and the surface will feel rough. To do this you just wipe it down with a wet rag, don’t soak it, just get it damp and then let it air dry. If you can raise the board up off your work surface, or stand it in a dish rack, it will dry much faster.


After your board is dry, go back over it with 220 grit sandpaper to sand the grain back down so it’s smooth. If you want an extra smooth surface, hit it with some 400 grit sand paper.

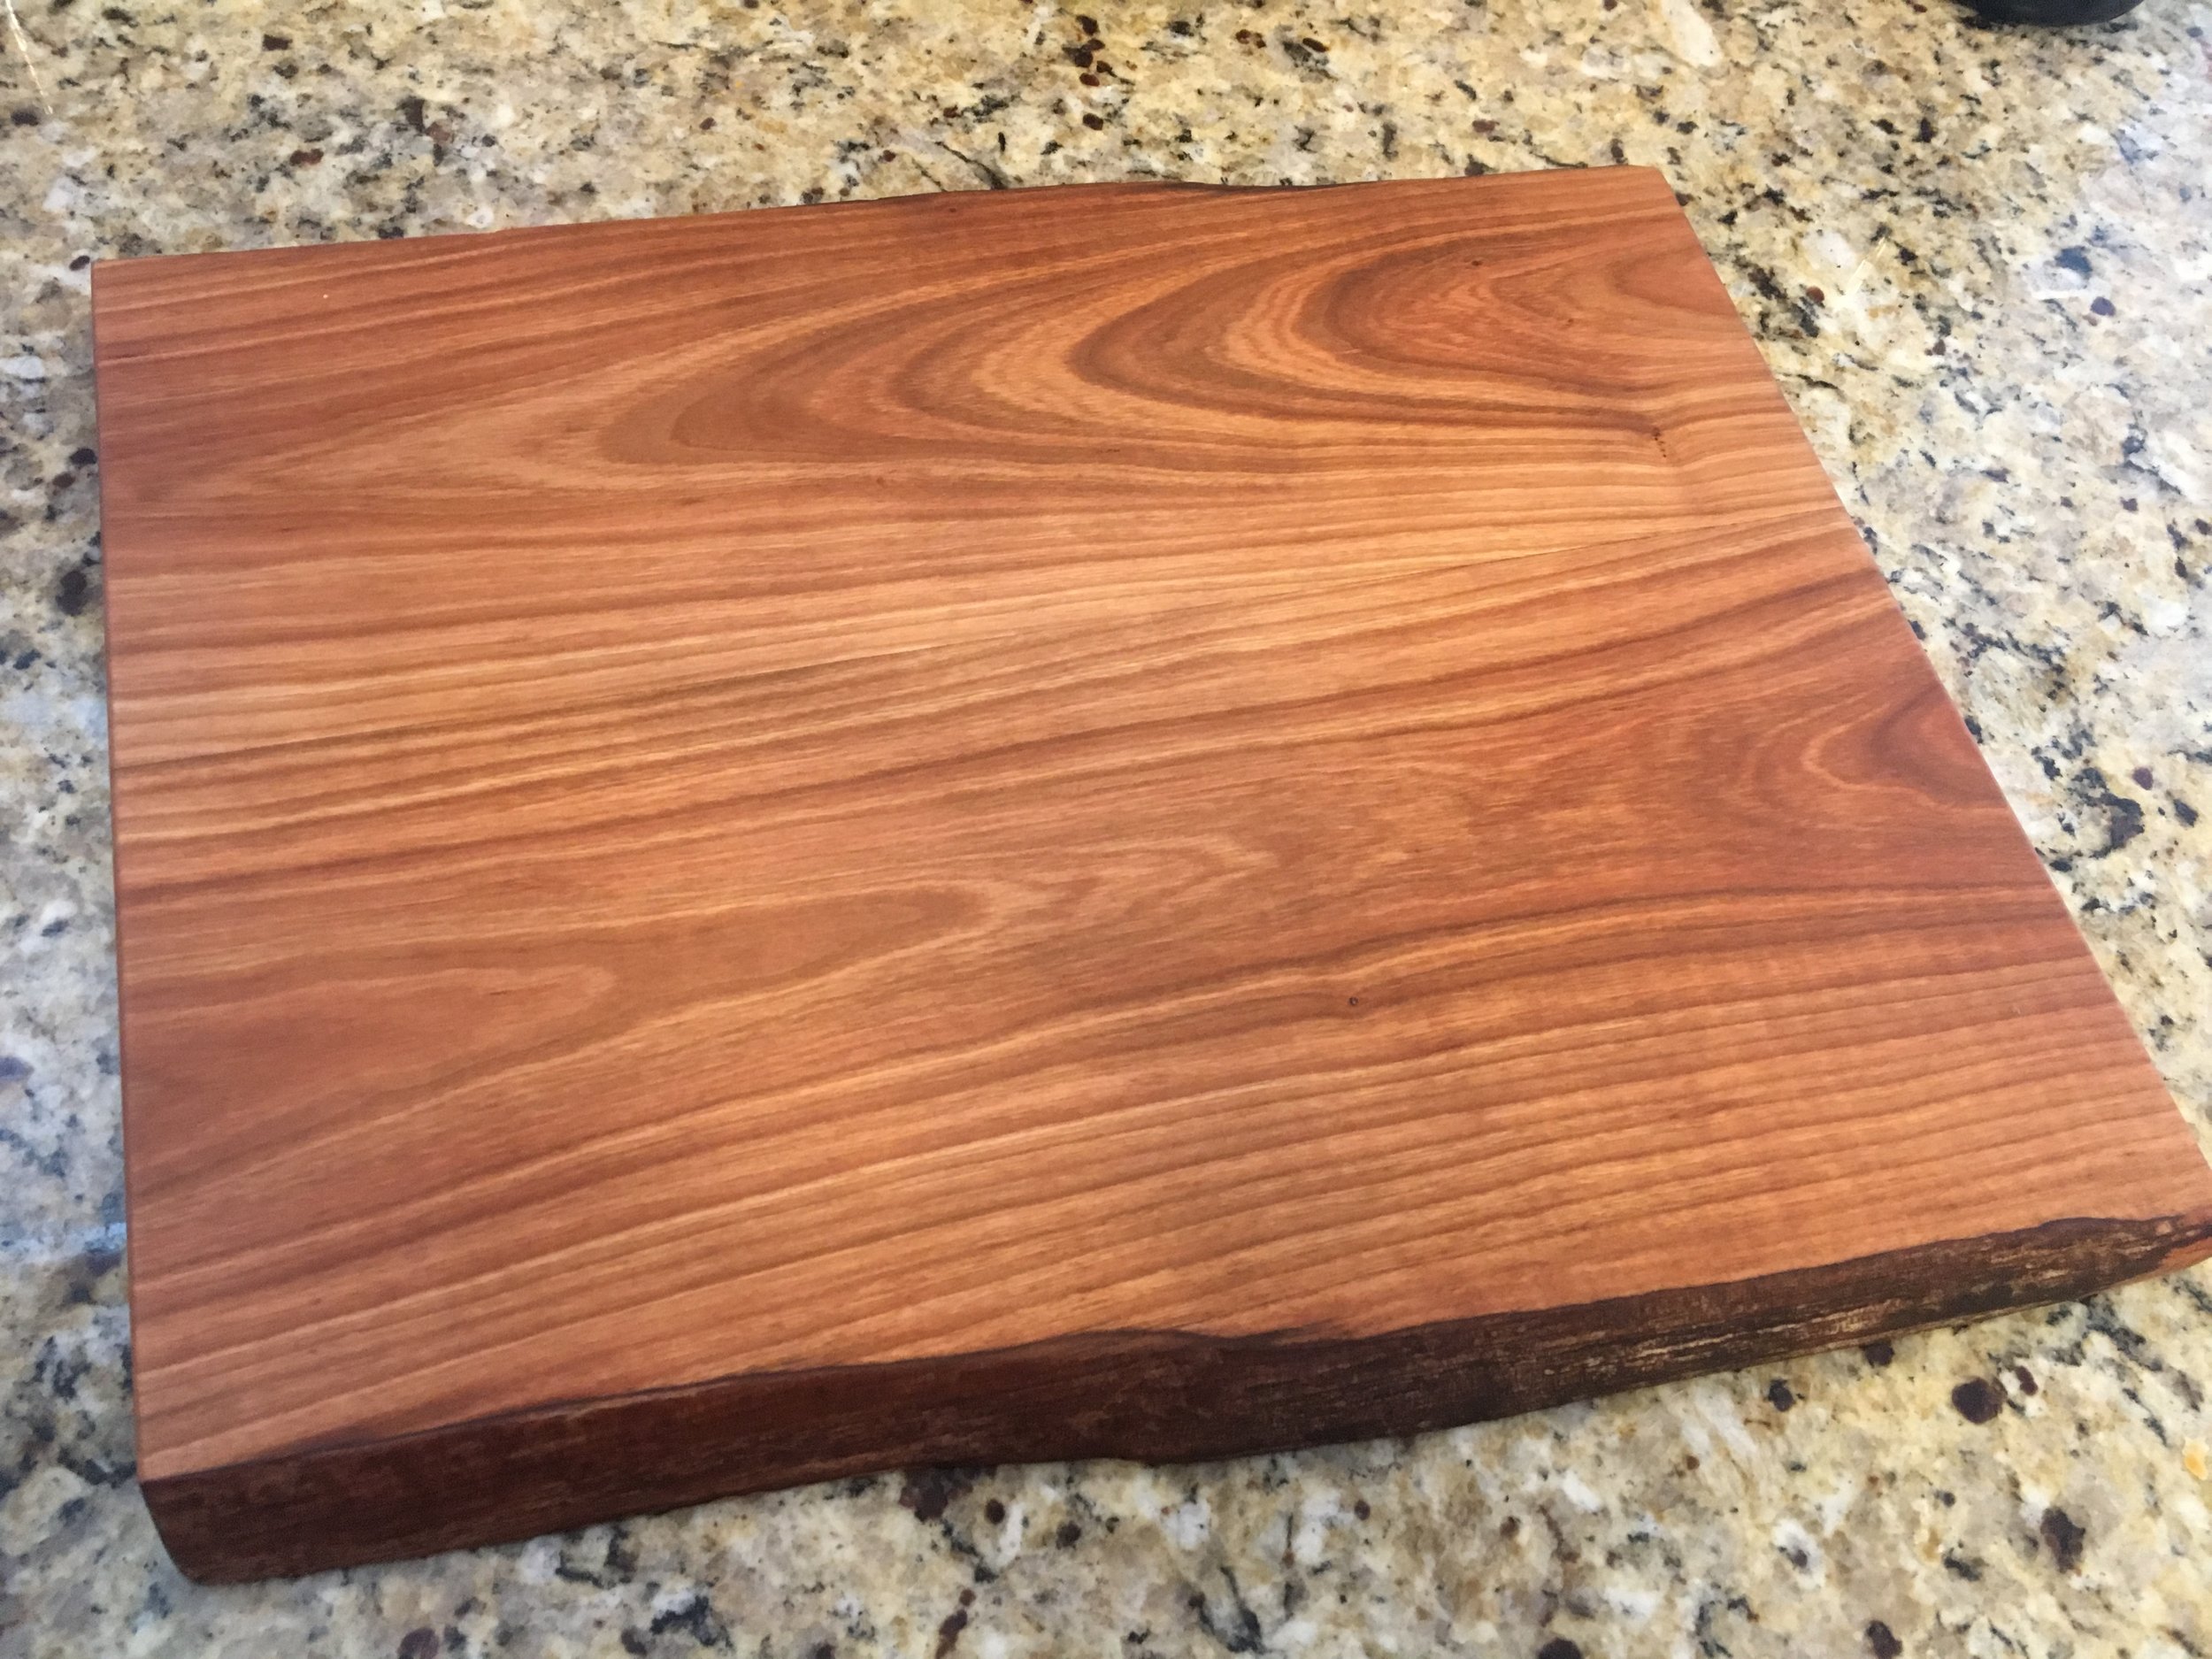
Then finally it’s time for the big (re)reveal. Take your mineral oil, conditioner or wax and wipe it on with either a lint free rag or a shop rag. I prefer the blue shop rags. Prop your board up somehow so it can soak in evenly on both sides.


Follow these tips to make your board last a lifetime:
1) Clean your cutting board by wiping with a damp sponge or towel and a mild detergent.
2) Dry it completely and stand it in a rack or on edge to allow air movement completely around the board.
3) DO NOT saturate your board with water, allow it to sit on a wet surface, sit/soak in standing water, or place it in the dishwasher. Excessive moisture will cause the surface to become rough, cause cracking/warping, and will lead to glue joint failure.
4) Periodically treat your cutting board with mineral oil as it begins to look dull or dry. Do not use other oils (vegetable, olive, etc.) on your cutting board as they will build up and turn rancid. Failure to periodically treat your cutting board will cause the surface to become rough and can cause cracking and glue joint failure.
If your cutting board is reversible, please rotate the surface you use to even out usage and wear between the two sides.
With proper care your wood cutting board will provide many years of use and enjoyment. Over time every board will show signs of use and this is perfectly normal. If you would like to restore the surface of your cutting board you may lightly sand the surface, clean it well, and treat it with mineral Oil/wax mix.

Follow me on Instagram @slightlycrookedworkshop


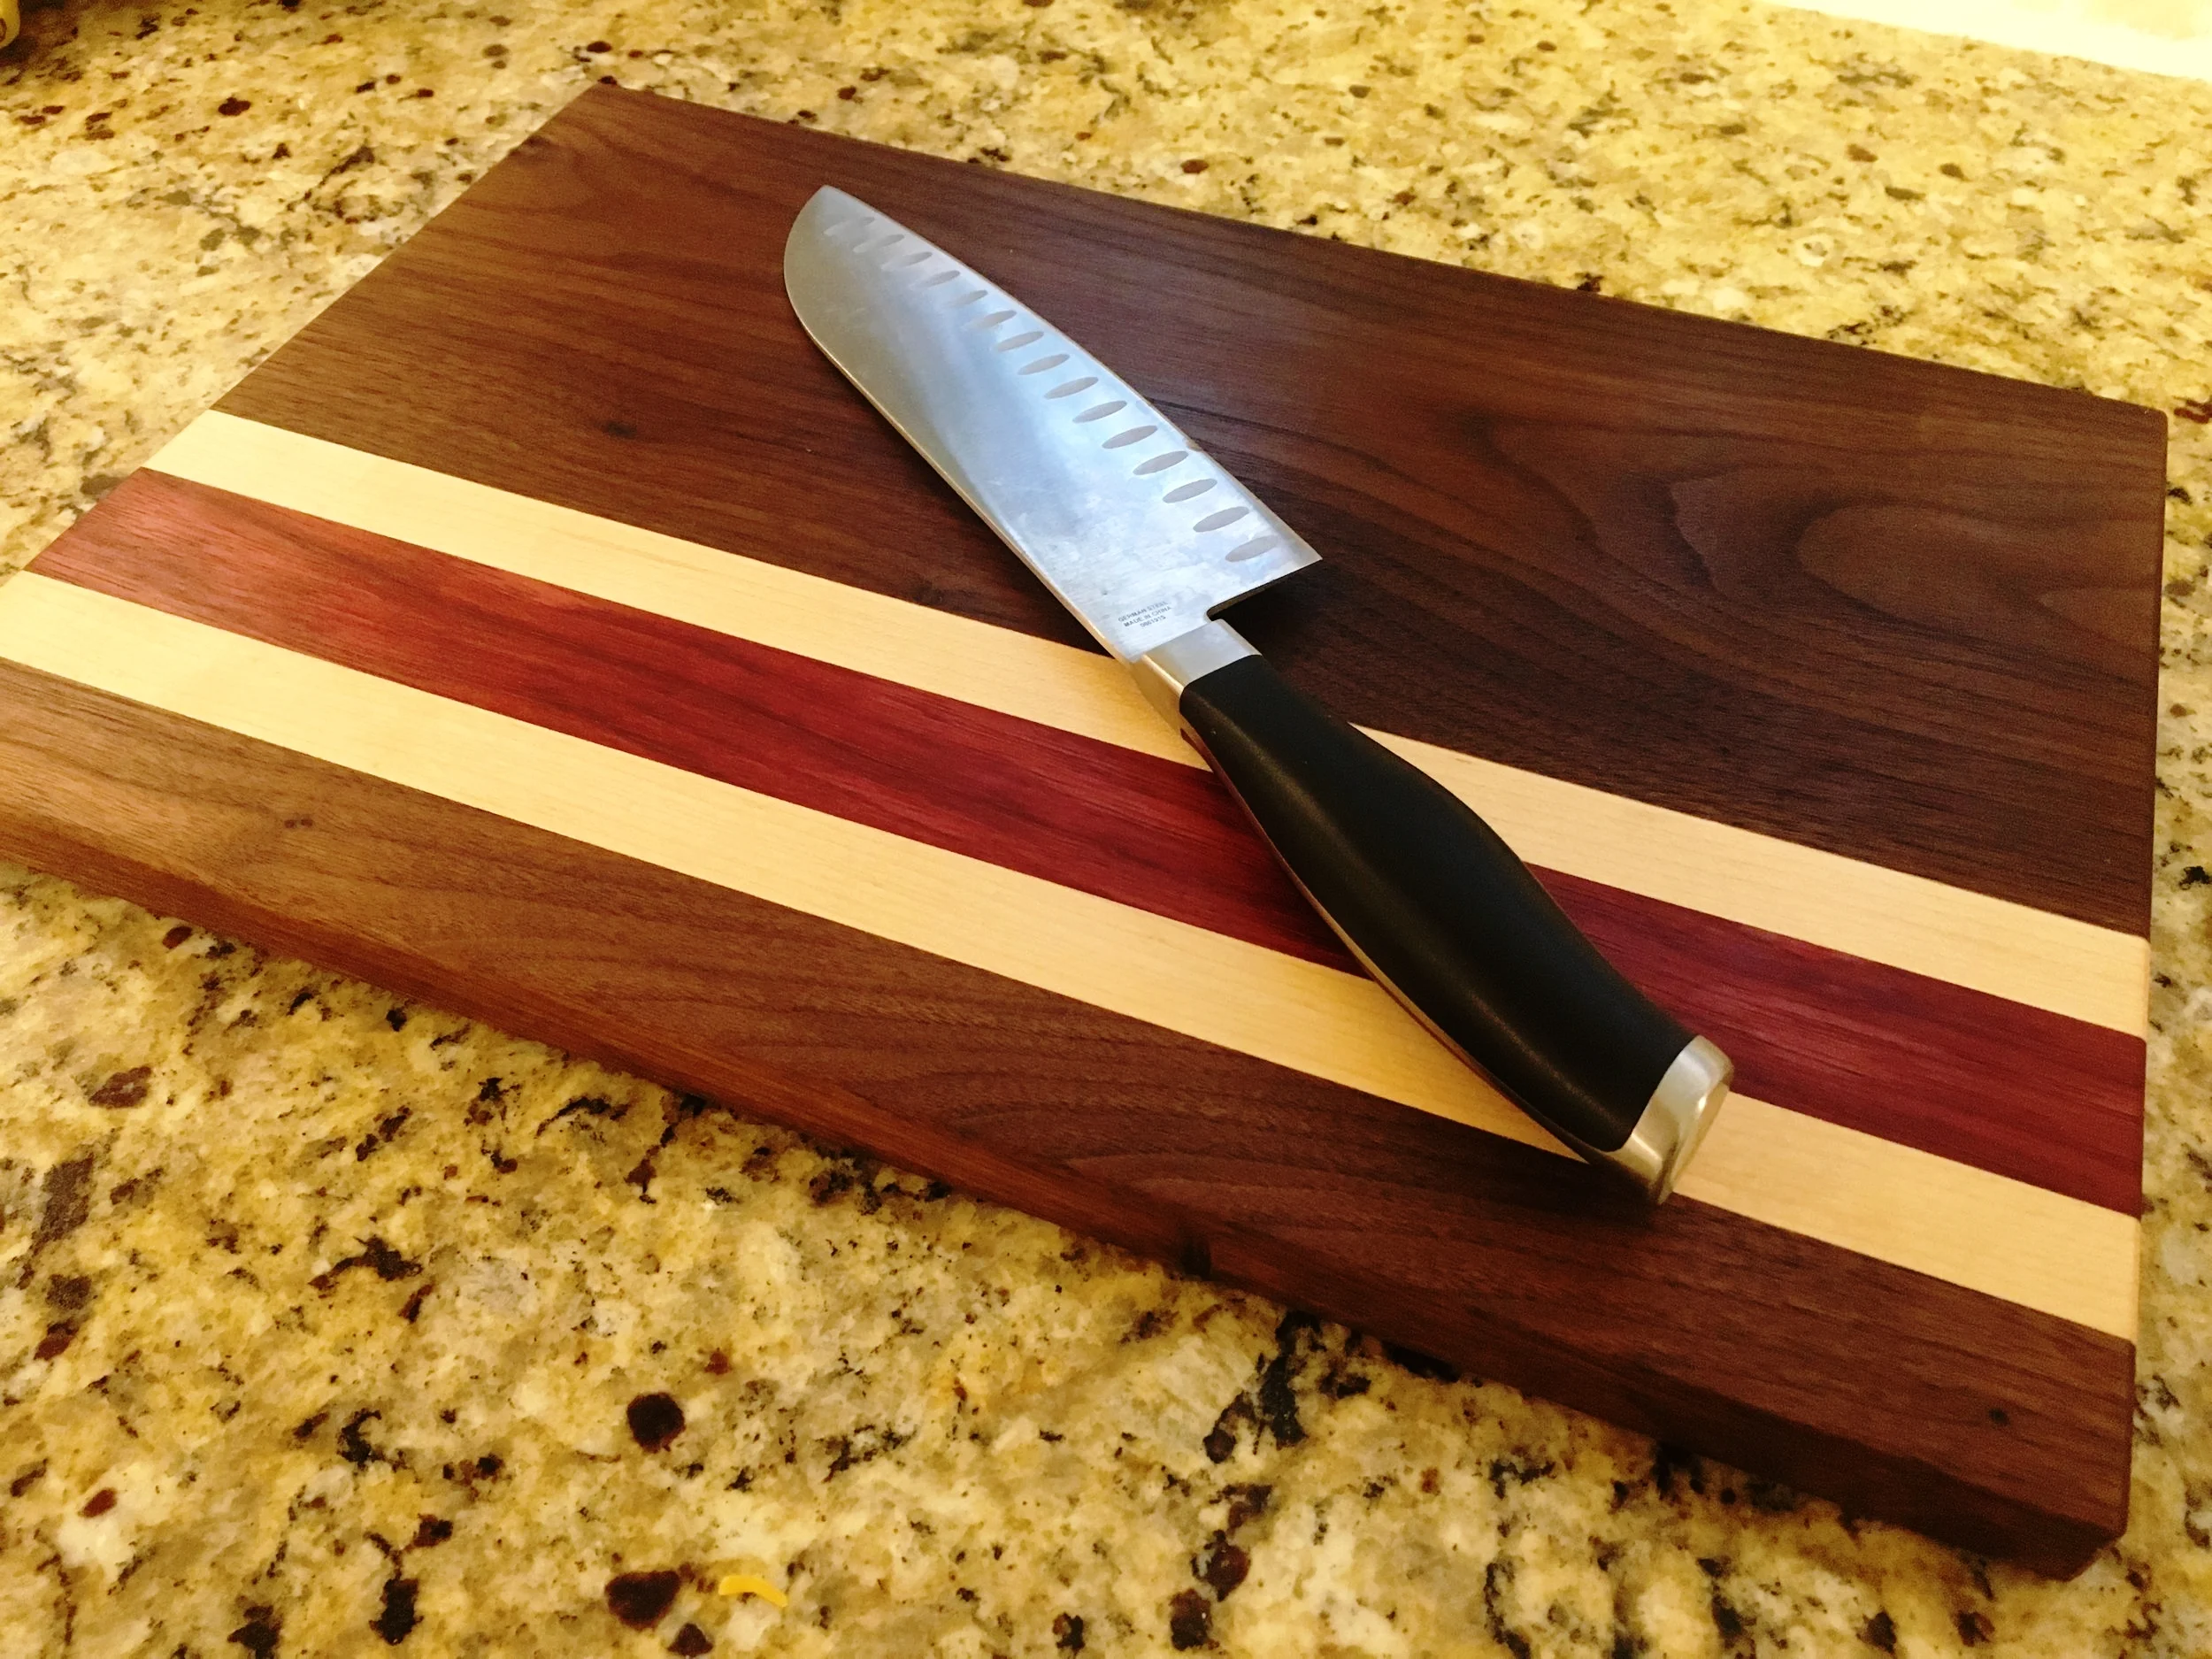
Measures 14x10x.75