Easy DIY Pallet Pumpkins
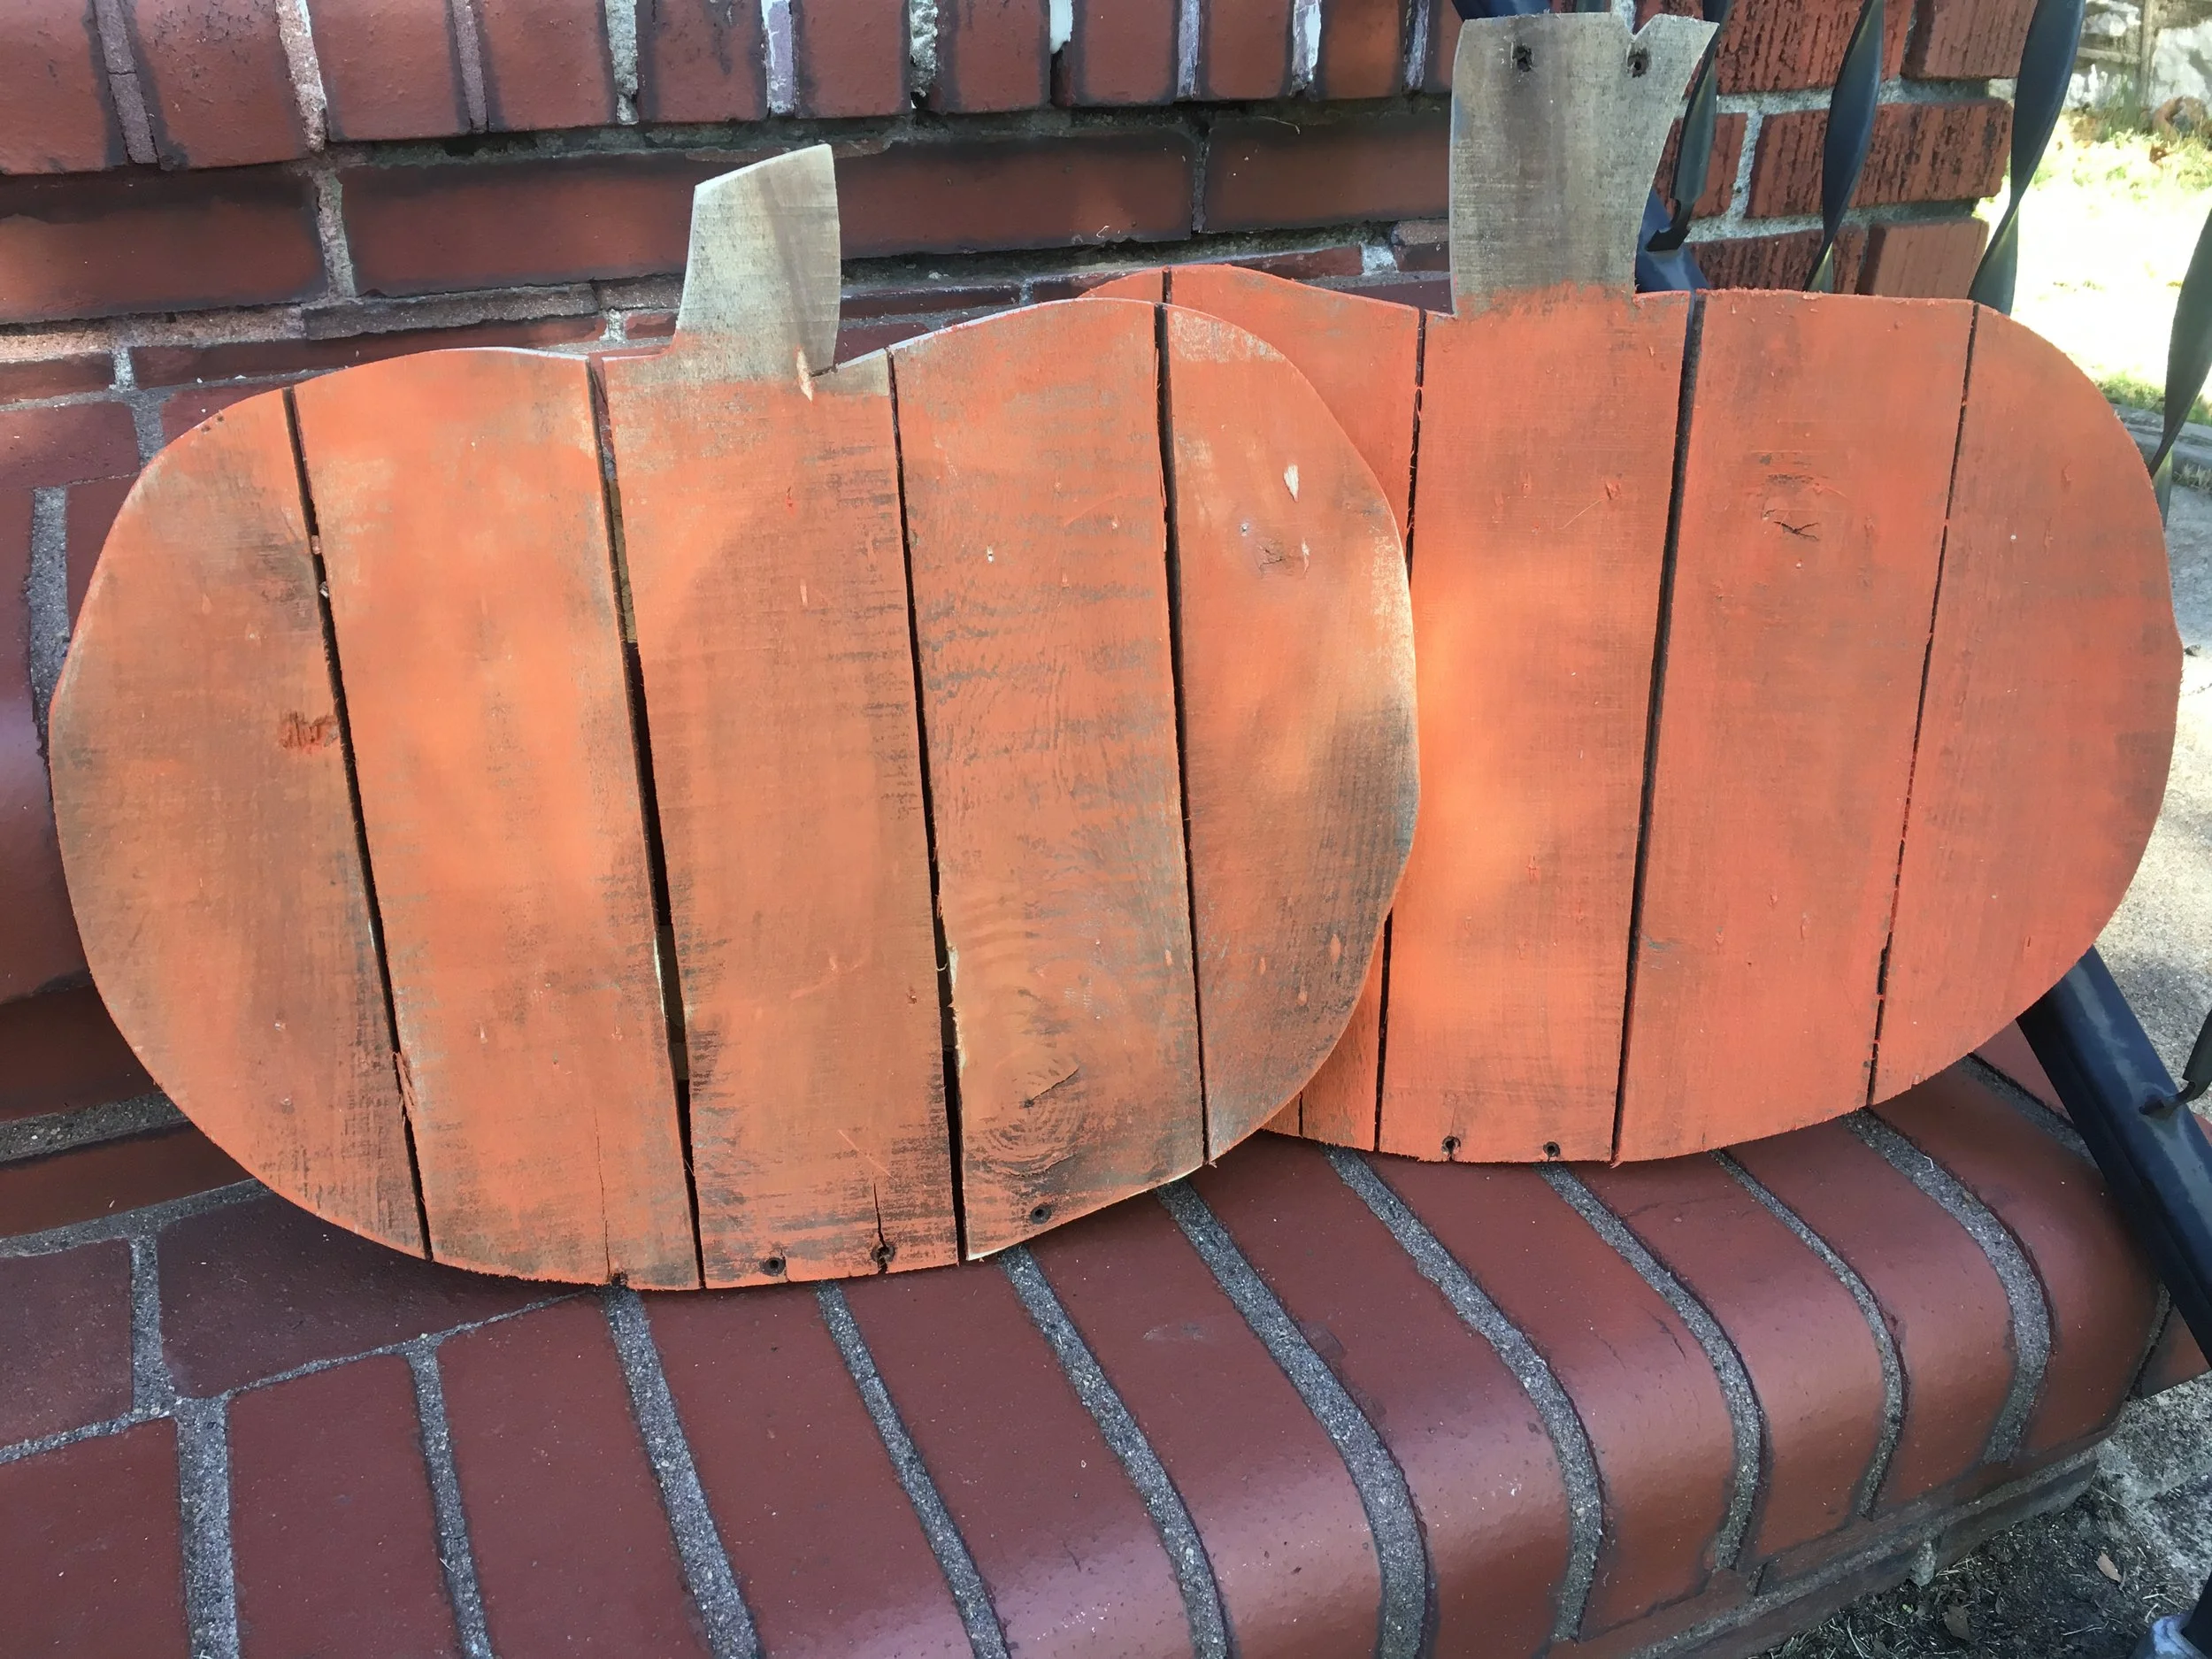
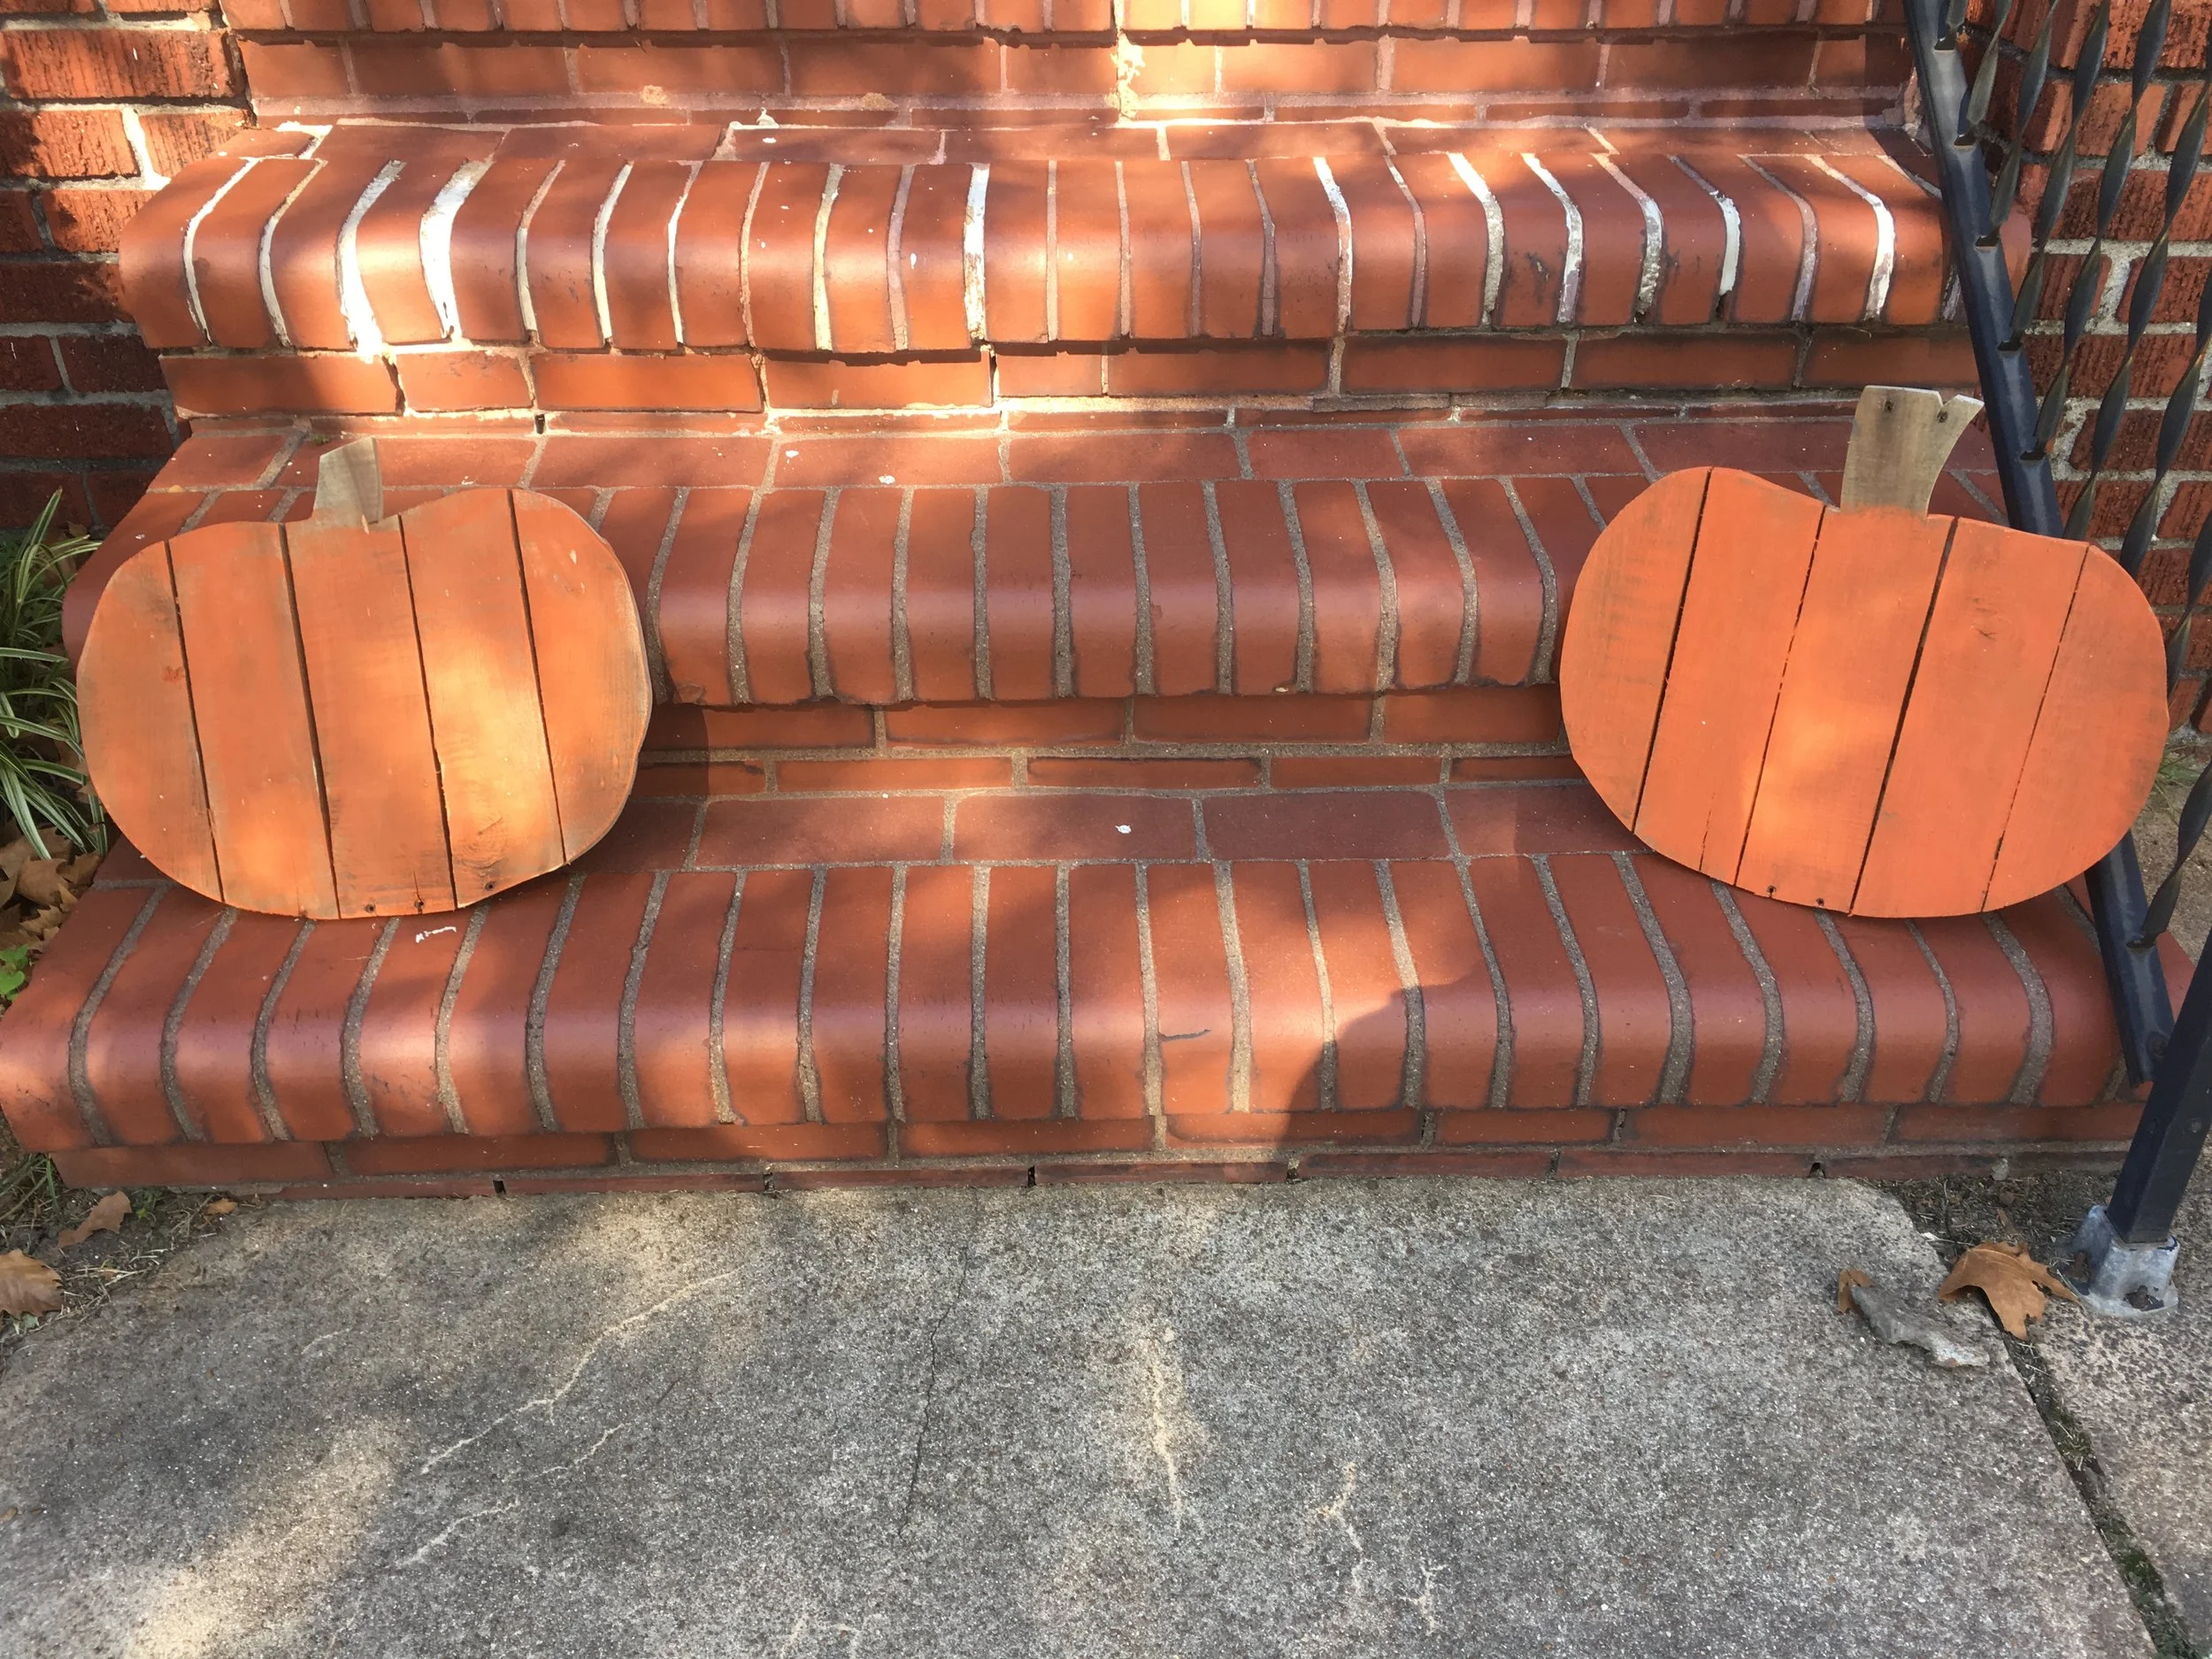
You can make the simple pumpkins from a small pallet in under an hour using only a jigsaw.
TOOL LIST
The first thing you’ll need to do is figure out where you can get a pallet. Craigslist is an ideal place to look, just search for free pallets. Or you can keep an eye out for local businesses getting rid of them by their trash or their loading dock. There are several businesses near me getting rid of lots of different sized pallets on a weekly basis. Motorcycle dealers are also a great place to look but these crates are big so you may have to break them down before they’ll fit in your vehicle.*
IMPORTANT NOTE WHEN WORKING WITH PALLETS: Read This for Detailed Info
You want to make sure your pallet has not been treated with Methyl Bromide or any other gas. Nearly all pallets are branded or stamped. If you can’t find a stamp, don’t use it…
Ideally you’d like to find one stamped on with HT: Heat Treated or KD: Kiln Dried.
DO NOT use a pallet marked with MB: Methyl Bromide.
Try not to use dirty pallets as you never know what might have been spilled on them.
*Motorcycle pallets are the best to use since they’re single use and built specifically to ship a single motorcycle.
You can break down your pallet using a crowbar and hammer, or just cut the board where they meet the supports if your pallet is long enough. The easiest way is to use a reciprocating saw and cut the nails.
Layout your pieces and either draw a pumpkin, if you can draw, or trace it using a pumpkin decoration. You should be able to get 2 pumpkins out of a single small size pallet.
You’ll need two pieces to hold your pumpkin together. Cut them to length, making sure they fit inside the outline of your pumpkin. If you have a table saw, you can rip them down in to thinner strips like I did.
Here you have 3 options: Glue, Nail, Glue and Nail.
I glued and nailed to speed things up but you can just use glue and let it dry, or you can use a hammer and nails. Just make sure your nails aren’t long enough to poke through to the front. *If you use nails, make sure they’re inside the shape of the pumpkin.
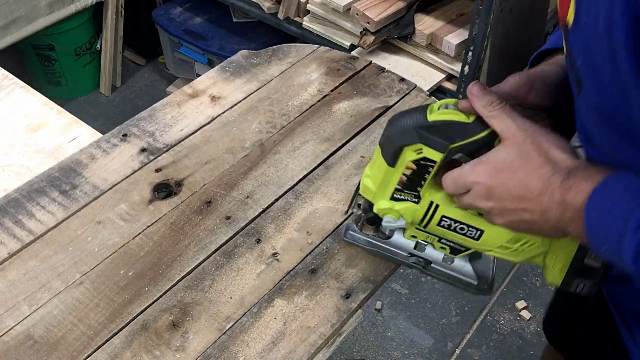
Once your glue is dry, cut out the pumpkin with a jig saw.
Finally, give it a coat or two of paint. I used the cheapest paint I could have mixed with the color: Autumn Blaze.

